


Hardware Installation Guide
Dell EMC Integrated Data Protection Appliance
DP4400
Version 2.4
302-005-680
REV. 02
June 2019
l
............................................................................................... 2
l
Prepare the site and unpack the system
................................................................. 3
l
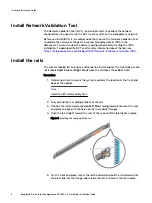
Install Network Validation Tool
............................................................................... 6
l
.........................................................................................................6
l
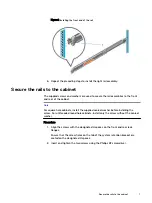
Secure the rails to the cabinet
................................................................................ 7
l
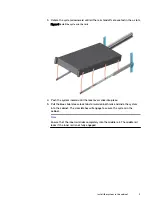
Install the system in the cabinet
............................................................................. 8
l
..................................................................................................... 10
l
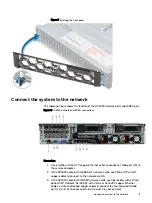
Connect the system to the network
.......................................................................11
l
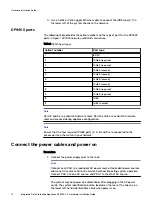
Connect the power cables and power on
...............................................................12
l
................................................................................................... 13
l
Installing the DataProtection-ACM pre-installation patch
..................................... 13
l
Launch the Appliance Configuration Manager
....................................................... 16
l
.............................................................................................. 16