


Dell
®
E Series Monitor VESA
Mounting Bracket Installation
Instructions
The VESA mounting bracket enables a Wyse cloud client to be mounted to the Dell E
Series Monitor. The bracket attaches to the monitor (a #1 Phillips-head screwdriver is
required), the cloud client is inserted in a vertical position, and then cables are
attached.
Note
: If using a 22- or 23-inch Dell E Series Monitor, the monitor base extension must
be used.
Note
: If using an E2414 Monitor, the P series mounting bracket must be used.
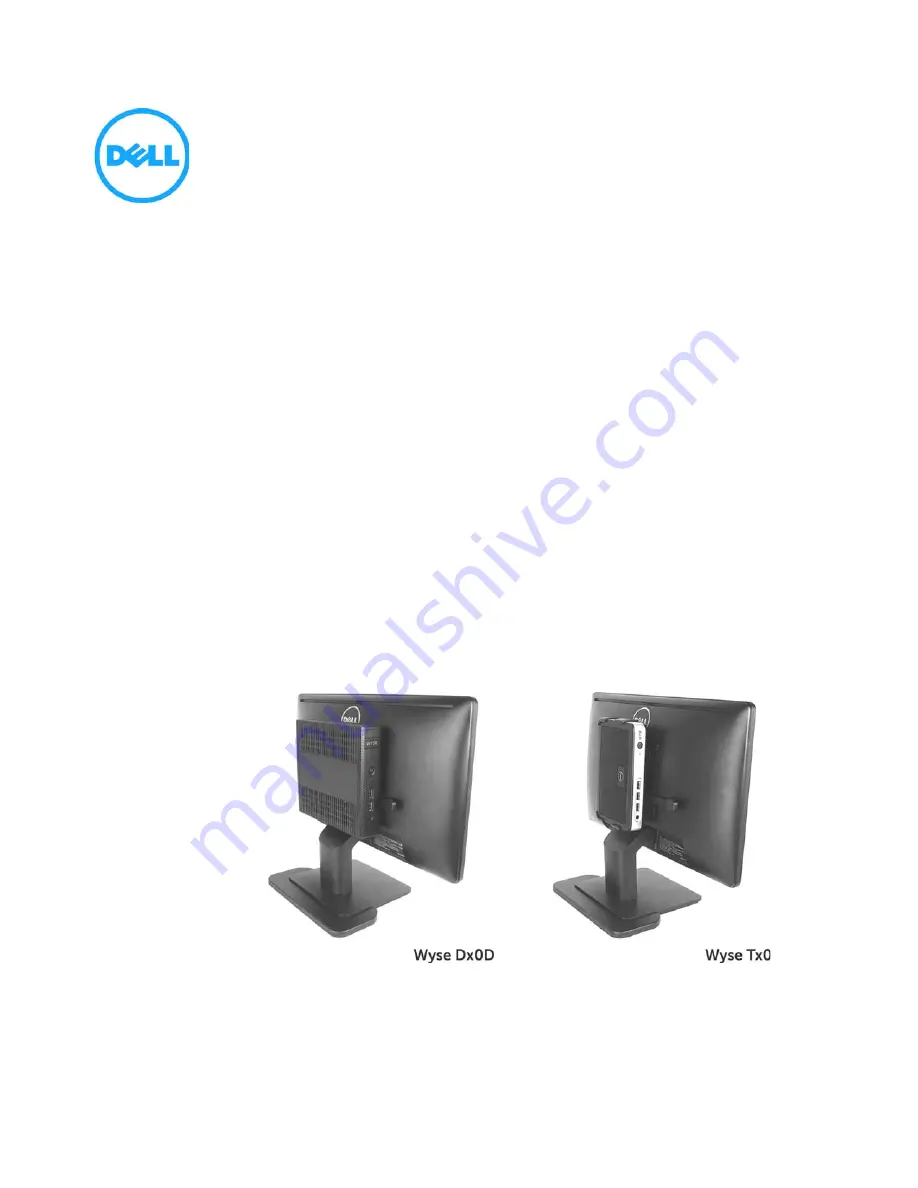
Wyse Cloud Clients Using this
Bracket
Wyse models D class, P25, and T class may use the Dell E Series Monitor VESA
Mounting Bracket. (Shown below are D and T class on monitors having the attached
base extension.)
Note
: Mount the cloud client only as shown; improper orientation (where the back
panel or front panel is facing down) could restrict the airflow of heat from the device
and damage it.
Note
: Do not enclose the cloud client in a confined environment without proper
ventilation.


