Dell DP61N, User Manual
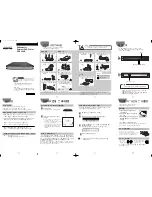
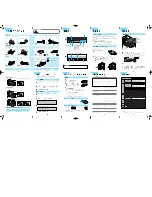
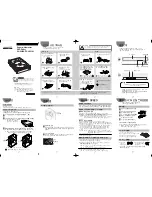
The Dell DP61N User Manual is your comprehensive guide to unlocking the full potential of this incredible product. Available for free download from manualshive.com, this manual provides step-by-step instructions and troubleshooting tips, ensuring a seamless experience. Empower yourself with all the necessary information to maximize your Dell DP61N's capabilities.
Share
Download


Reviews:
No comments
Related manuals for DP61N

DMRE55P
Brand: Panasonic Pages: 142

SM-352B
Brand: Samsung Pages: 22

SH-S222A - Super-WriteMaster - Disk Drive
Brand: Samsung Pages: 2
SD-816B
Brand: Samsung Pages: 19
SE-S084B - DVD RW / DVD-RAM Drive
Brand: Samsung Pages: 2
SD-616Q
Brand: Samsung Pages: 2
Super-writemaster SH-S203N
Brand: Samsung Pages: 2
TS-H542A
Brand: Samsung Pages: 24
SH-W162L
Brand: Samsung Pages: 32
SH-M522C - CD-RW / DVD-ROM Combo Drive
Brand: Samsung Pages: 27

SD-816
Brand: Samsung Pages: 2

SD-616Q
Brand: Samsung Pages: 19

DVDRW
Brand: Kanguru Pages: 2

HK-DVDRW
Brand: HIKVISION Pages: 9

ND-2100
Brand: NEC Display Solutions Pages: 18

DVD-USB-01
Brand: Gembird Pages: 11
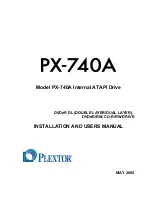
PX-740A
Brand: Plextor Pages: 82
BF-2123
Brand: Bafo Pages: 15


