background image


1


1. 

If you purchased this storage to share your file or media with other computers, you must 
use an Ethernet cable with a properly configured Internet environment. 

2. 

For optimal security and convenience, we recommend designating a single computer to 
handle all DNS-300 configuration settings. 

3. 

To help connect to the DNS-300 the first time, please see the D-Link Storage 
Configuration Utility section in the Appendix at the end of this Quick Installation Guide. 

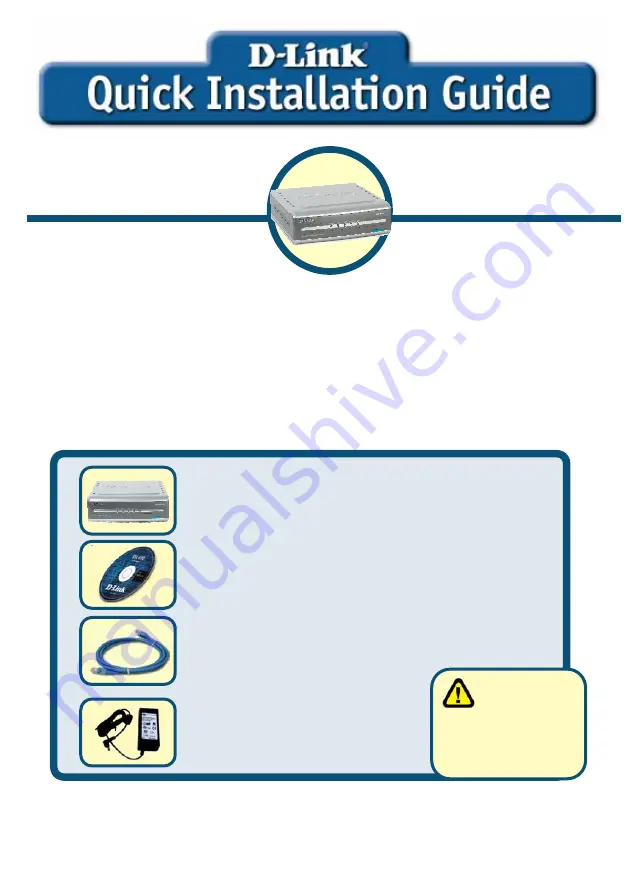
Check Your Package Contents 

These are the items included with your DNS-300 purchase: 


If any of the above items are missing, please contact your reseller. 

©2005 D-Link Systems, Inc. All rights reserved. Trademarks or registered trademarks are the property of their respective 
holders. Software and specifications subject to change without notice. 

        Using a power 

         supply with a 

different voltage rating 

will damage and void 

the warranty for this 

product. 

This product can be set up 
using any current web browser, 
i.e., Internet Explorer 5x, and 
Netscape Navigator 4x or above. 


DNS-300 

Network Attached Storage  

DNS-300 Network Attached Storage 

CD-ROM (Containing Manual and Warranty) 

Ethernet (CAT5 UTP/Straight Through) cable 

12V DC Power Adapter 

Before You Begin 

Summary of Contents for DNS-300

Page 1: ...items included with your DNS 300 purchase If any of the above items are missing please contact your reseller 2005 D Link Systems Inc All rights reserved Trademarks or registered trademarks are the pro...

Page 2: ...ase use a straight through cable to the LAN port Please make sure that your Local Area Network is already working properly C USB ports can connect to one USB printer and one USB hard disk By connectin...

Page 3: ...e transferring data Light off Disconnected USB Solid Light USB Flash HDD connected Blinking Receiving data Light off No USB Flash HDD connected The Descriptions of LEDs Power LED Solid Light Power on...

Page 4: ...When you have completed the steps in this Quick Installation Guide your connected network should look similar to this Step 1 Loosen the screws on the back of the DNS 300 Setting Up the Hard Disk Driv...

Page 5: ...5 Step 2 Remove the cover Step 3 Plug the IDE ATA cable into the HDD Step 4 Connect the power connector to the HDD...

Page 6: ...to the metal bracket with the screws provided The DNS 300 packing materials include four screws which are used in Step 5 Step 6 Replace the cover and tighten the screws The DNS 300 is now ready to be...

Page 7: ...e Configuration Utility on your computer by inserting the DNS 300 CD ROM in your CD drive and selecting the first item on the list 2 Click the D Link Storage Configuration Utility icon that was instal...

Page 8: ...figuration by doing the following steps 1 Open the browser 2 Enter the system default IP 192 168 0 101 in the address bar 3 Click Go to continue Enter the default user name and password In the authent...

Page 9: ...n in the last page Click the Run Wizard button to start Enter system information 1 Enter the server name in the Server name filed so you can quickly access the storage of this system either from a Win...

Page 10: ...ou can modify the settings to fit your need If a DHCP server is available in the same network environment and you prefer to obtain the networking settings for the system from the DHCP server change th...

Page 11: ...hoose the Mac OS zone A zone is a logical grouping of devices in an AppleTalk network Select the zone from the dropping down menu 3 Choose the appropriate encoding from the code page drop down menu so...

Page 12: ...Click the OK button in the pop up dialogue The following window will be displayed to indicate the DNS 300 is preparing your new settings The page will then be directed to the summary page so you can r...

Page 13: ...ase see section four of this Quick Installation Guide To copy the D Link Storage Utility from the CD ROM to your PC simply place the auto run CD ROM that came with your DNS 300 in the CD drive of your...

Page 14: ...g it from the list in the System Configuration window above To change the IP address click the Set IP button on the System Configuration window Enter the appropriate information in the following pop u...

Page 15: ...s to be displayed they must be placed in the media_content folder rather than the public folder Clicking the Manage button on the System Configuration window will cause your browser to open Note For m...

Page 16: ...land D Link UK Ireland Technical Support over the Telephone 08456 12 0003 United Kingdom 44 8456 12 0003 Ireland Monday to Friday 8 00 am to 10 00 pm GMT Sat Sun 10 00 am to 7 00 pm GMT D Link UK Irel...

Reviews: