
Summary of Contents for DNS-1100-04
Page 1: ......
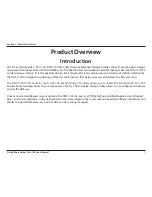
The D-Link DNS-1100-04 is a high-performance network attached storage device. Simplify the setup process with the Quick Installation Manual, available for free download on manualshive.com. Get access to comprehensive instructions and set up your device hassle-free. Explore the capabilities of this product and enhance your network storage experience.
Page 1: ......


