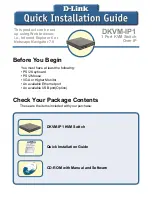
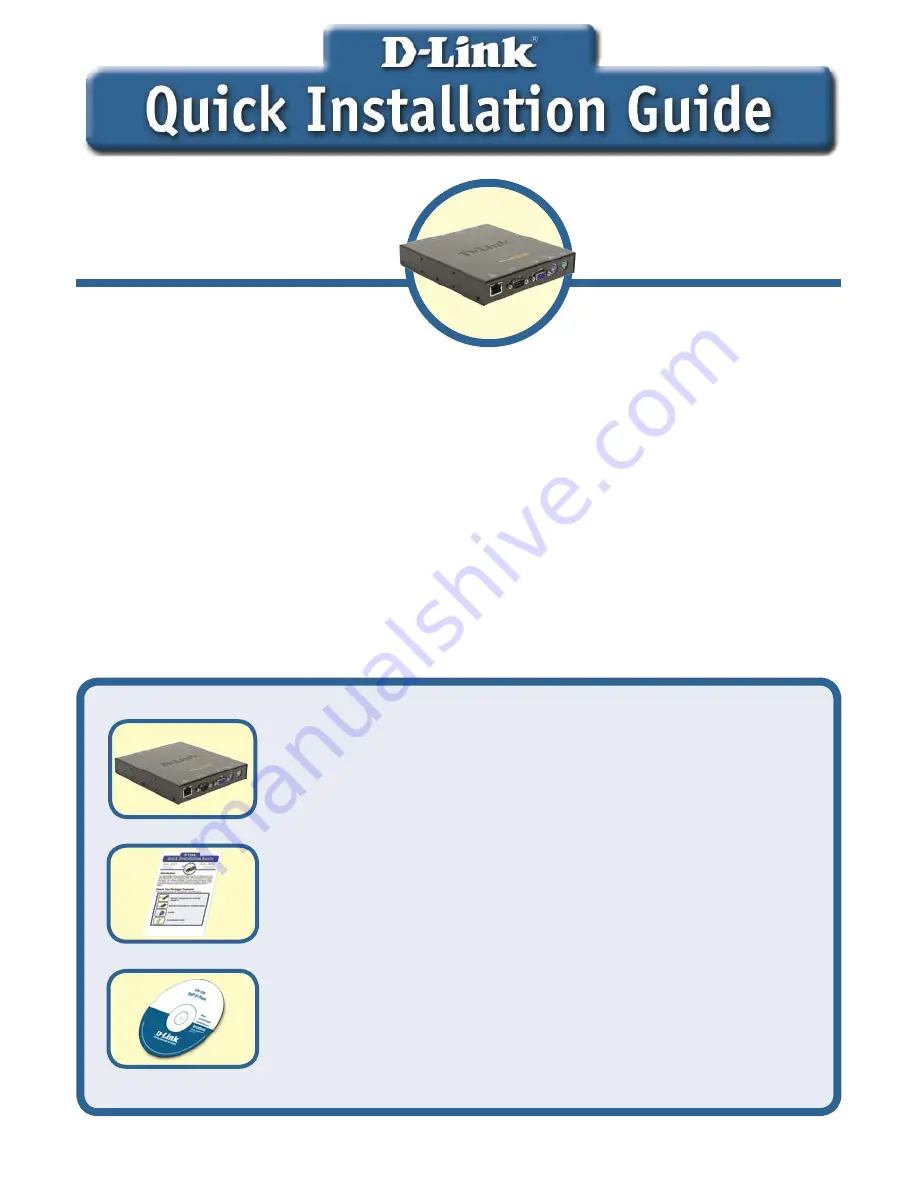
background image

1

Before You Begin

DKVM-IP1

1 Port KVM Switch 

Over IP 

This product can be set 

up using Web browser, 

i.e., Internet Explorer 6 or 

Netscape Navigator 7.0

You must have at least the following:

• PS/2 Keyboard

• PS/2 Mouse

• VGA or Higher Monitor 

• An available Ethernet port 

• An available USB port(Option)

Check Your Package Contents

These are the items included with your purchase:

DKVM-IP1 KVM Switch 

Quick Installation Guide

CD-ROM with Manual and Software

Summary of Contents for DKVM-IP1

Page 1: ... 6 or Netscape Navigator 7 0 You must have at least the following PS 2 Keyboard PS 2 Mouse VGA or Higher Monitor An available Ethernet port An available USB port Option Check Your Package Contents These are the items included with your purchase DKVM IP1 KVM Switch Quick Installation Guide CD ROM with Manual and Software ...

Page 2: ...Mount Kit 5V 2 5A DC Power Adapter 2005 D Link Systems Inc All rights reserved Trademarks or registered trademarks are the property of their respective holders Software and specifications subject to change without notice If any of the above items are missing please contact your reseller ...

Page 3: ...l VGA Port Connects to a PC Server or the corre sponding console side of another KVM switch PS 2 Port Connects to a PC Serv er or the corresponding console side of another KVM switch PS 2 Port Connects to a PC Serv er or the corresponding console side of another KVM switch USB Port Connects to a PC Server USB port Power Receptor Connects to a PC Serv er or the corresponding console side of another...

Page 4: ...e sure that all your computers are turned OFF before installing the DKVM IP1 to avoid mouse and keyboard errors when booting up your computers Plug the DB 9 connector into the serial port located on the front panel of the DKVM IP1 Option Attach your monitor s HDDB 15 VGA connector to the console port of the DKVM IP1 ...

Page 5: ...puter s PS 2 keyboard connector to the console port of the DKVM IP1 Attach your computer s PS 2 mouse connector to the console port of the DKVM IP1 Attach the KVM cable VGA con nector to the VGA port located on the rear panel of the DKVM IP1 ...

Page 6: ...anel of the DKVM IP1 Attach the KVM cable keyboard connector to the keyboard port located on the rear panel of the DKVM IP1 Plug the USB type B connector into the USB port located on the rear panel of the DKVM IP1 Option Plug the power adapter into the receptor located on the rear panel of the DKVM IP1 ...

Page 7: ...cable mouse con nector to the mouse port located on the back of your computer case or connect to the console mouse port located on the another KVM switch Power ON all your attached computers after you have completed the DKVM IP1 hardware installation Note The DKVM IP1 are provide two kind of console client one is window client and another is java client for user alternative Please refer to followi...

Page 8: ... key Click OK to apply the new settings Click OK Select Use the following IP address IP address 192 168 0 28 Subnet mask 255 255 255 0 Note 1 If you connect this DKVM IP1 directly to a PC you will need a cross over Ethernet cable 2 If you plug the DKVM IP1 to a Hub or Router you will be able to use the cable included with your DKVM IP1 This installation and configuration of the DKVM IP1 is now comp...

Page 9: ...ngdom Ireland D Link UK Ireland Technical Support over the Telephone 08456 12 0003 United Kingdom 44 8456 12 0003 Ireland Lines Open 8 00am 10 00pm Mon Fri 10 00am 7 00pm Sat Sun D Link UK Ireland Technical Support over the Internet http www dlink co uk ftp ftp dlink co uk For Customers within Canada D Link Canada Technical Support over the Telephone 1 800 361 5265 Canada Monday to Friday 7 30 am ...

Reviews: