


Summary of Contents for DIR-501
Page 1: ......
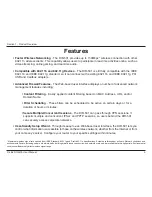
The D-Link DIR-501 is a high-performance wireless router that provides fast and reliable internet connectivity for your home or small office. With its Quick Installation Manual, setting up this device is a breeze. Experience seamless networking by downloading the free manual from our website, ensuring easy installation and hassle-free usage.
Page 1: ......