D-Link DCS-2136L, User Manual
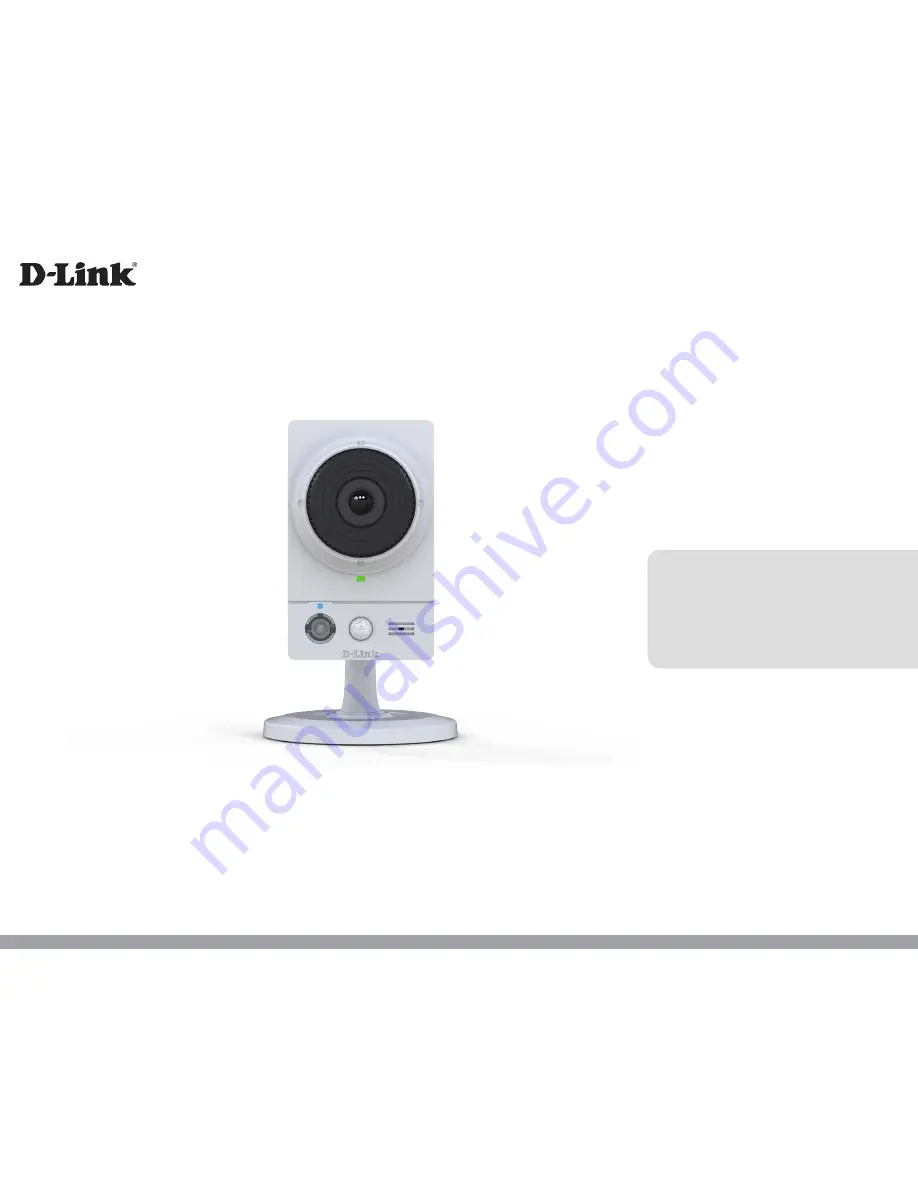
The D-Link DCS-2136L is a high-performance IP camera providing crystal-clear surveillance footage. Enhance your security setup with this feature-packed device, offering advanced functionalities for remote monitoring. Access detailed instructions and guidance on device setup, configuration, and troubleshooting in the comprehensive user manual available for free download at manualshive.com.
Share
Download


Reviews:
No comments
Related manuals for DCS-2136L

AllShare Cast Dongle
Brand: Samsung Pages: 2

2000
Brand: Rabbit Pages: 120

2000
Brand: Rabbit Pages: 45

2000
Brand: Rabbit Pages: 43

2000
Brand: Rabbit Pages: 174

M300
Brand: TC Electronic Pages: 2

3270
Brand: IBM Pages: 86

910
Brand: XDS Pages: 99

MX250
Brand: EAW Pages: 10

DFE-690TXD
Brand: D-Link Pages: 12

PCMCIA WIRELESS ASAPTER DWL-650
Brand: D-Link Pages: 5

DSX 26
Brand: DAD Pages: 36

Express EtherNetwork DFE-670TXD
Brand: D-Link Pages: 4

DUB-1320
Brand: D-Link Pages: 2

DFE-680TX
Brand: D-Link Pages: 4

11
Brand: Omnia Pages: 102

Computer
Brand: M-Audio Pages: 10

Mini Field Agent
Brand: GE Pages: 87


