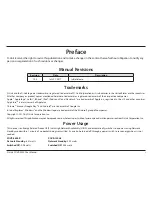
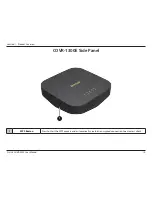
D-Link COVR-2600R, User Manual
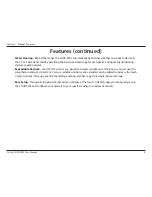
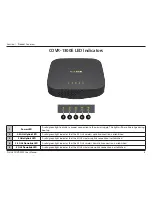
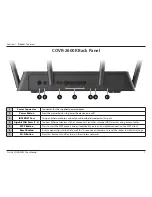
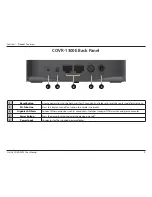
The D-Link COVR-2600R is an advanced Wi-Fi router designed to provide seamless internet connectivity. Unlock the full potential of this high-performance device by downloading the free user manual from manualshive.com. Gain valuable insights and easily set up your network with the comprehensive manual, guiding you through every step.
Share
Download


Reviews:
No comments
Related manuals for COVR-2600R

SD-10
Brand: ZF Pages: 28

Y Series
Brand: Waterous Pages: 14

RM Series
Brand: Yamaha Pages: 42

P4
Brand: Hansen Pages: 36

AS-1100
Brand: Galaxy Audio Pages: 2

HUB Series
Brand: Eartec Pages: 2

PM40
Brand: Earthworks Audio Pages: 3

UltraShift PLUS
Brand: Eaton Pages: 266

RA Series
Brand: Unimec Pages: 48

UltraShift PLUS
Brand: Eaton Pages: 2

AKG WMS420
Brand: Harman Pages: 2

ENCORE DUET
Brand: Nady Systems Pages: 10

401X Quad
Brand: Nady Systems Pages: 19

Encore I
Brand: Nady Systems Pages: 11

TX-8
Brand: Paccar Pages: 48

Kore 7th
Brand: Pacific Sun Pages: 12

M-336
Brand: QFX Pages: 5

VA700
Brand: Radiant Communications Pages: 11


