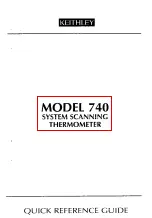
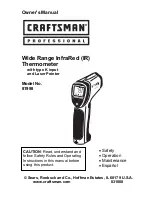
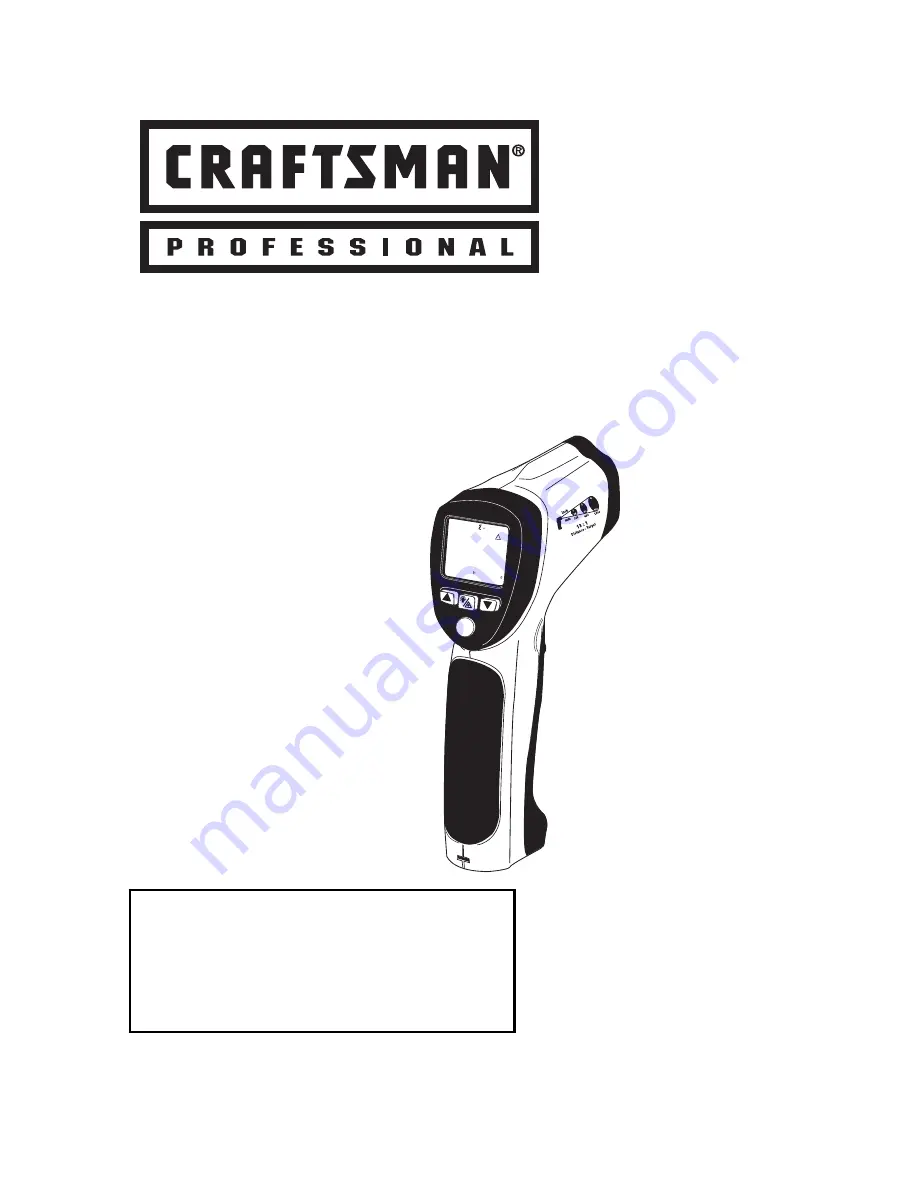
background image

Owner's Manual 


Wide Range InfraRed (IR) 
Thermometer 

with type K input 
and Laser Pointer 

 
Model No. 
81998


© Sears, Roebuck and Co., Hoffman Estates, IL 60179 U.S.A. 

www.craftsman.com                                      031808 

 Safety 

 Operation 

 Maintenance 

 Español 

CAUTION

: Read, understand and 

follow Safety Rules and Operating 
Instructions in this manual before 
using this product. 

79

.3

20

HOLD

LOG

0.95

91.9

HI

LOW

¡F

AT

3

Set

MODE

79

.3

20

HOLD

LOG

0.95

91.9

HI

LOW

¡F

Summary of Contents for 81998

Page 1: ...Roebuck and Co Hoffman Estates IL 60179 U S A www craftsman com 031808 Safety Operation Maintenance Español CAUTION Read understand and follow Safety Rules and Operating Instructions in this manual before using this product 79 3 20 HOLD LOG 0 95 91 9 HI LOW F AT 3 Set MODE 79 3 20 HOLD LOG 0 95 91 9 HI LOW F ...

Page 2: ...t type K Temperature Measurements 9 Test LOCK feature 9 Temperature units C F 10 The MODE button options 10 Automatic Emissivity 11 Lock feature 12 High and Low Alarm Feature 13 Over Range indication 13 IR Measurement Notes 13 Distance to spot Ratio 14 Emissivity and IR Measurement Theory 15 Emissivity Factors for Common Materials 15 Maintenance 16 Battery Replacement 16 Troubleshooting 17 Service...

Page 3: ...c legal rights and you may also have other rights which vary from state to state Sears Roebuck and Co Hoffman Estates IL 60179 For Customer Assistance Call 9am 5pm ET Monday through Friday 1 888 326 1006 WARNING USE EXTREME CAUTION IN THE USE OF THIS DEVICE Improper use of this device can result in injury or death Follow all safeguards suggested in this manual in addition to the normal safety prec...

Page 4: ...er pointer is on 2 Do not point the beam toward anyone s eye or allow the beam to strike the eye from a reflective surface 3 Do not use the laser near explosive gases or in other potentially explosive areas 4 ALWAYS turn off the power and disconnect the test leads before opening the cover to replace the fuse or battery 5 NEVER operate the meter unless the back cover is in place and fastened secure...

Page 5: ...y 6 Function Buttons 7 Type K thermocouple 8 Temperature units o C or o F switch 9 Test lock ON OFF switch 10 Alarm ON OFF switch Note that switches are located in the battery compartment behind the battery 1 2 3 4 8 79 3 20 HOLD LOG 0 95 91 9 HI LOW F AT3 Set MODE 79 3 20 HOLD LOG 0 95 91 9 HI LOW F 7 5 6 ...

Page 6: ... Automatic emissivity adjustment above 212 F 100 C Distance to spot ratio D S 13 1 ratio D distance S spot or target Laser pointer Class 2 laser 1mW power Wavelength is 630 to 670nm Spectral response 8 to 14 m wavelength Repeatability 0 7 of reading or 1 8 F 1 C whichever is greater Type K Contact Thermometer Range Resolution 58 0 to 1472oF 50 0 to 800oC 0 1o 2000 1 2000 Accuracy 1 5 of rdg 2ºF 1º...

Page 7: ... approx Over range indication Operating Temperature 32 F to 122 F 0 C to 50 C Operating Humidity 80 RH Storage Temperature 14 to 140 F 10 to 60 C Storage Humidity 90 Power Supply 9V battery Automatic Power Off 7 seconds with LOCK to disable Weight 6 4 oz 180g Dimensions 3 2 x 1 6 x 6 3 82 x 42 x 160mm ...

Page 8: ...TRUCTIONS Non Contact IR Temperature Measurements 1 Hold the meter by its handle and point it toward the surface to be measured 2 Pull and hold the trigger to turn the meter on and begin testing The temperature reading the flashing SCAN icon the emissivity and the unit of measure will appear Note Replace the 9V battery if the display does not switch on 3 Release the Trigger and the reading will ho...

Page 9: ...ide of the battery compartment 4 Repeatedly press the MODE button until the bottom display line of the LCD reads T k The temperature shown to the right of the T k symbol is the temperature that the Type K thermocouple is sensing 5 Hold the thermocouple in air or touch the tip of the sensor to the device that is to be tested The LCD s bottom temperature display will provide the measurement value No...

Page 10: ...d MIN Minimum function In the MIN mode only the lowest reading is displayed DIF Max minus Min value In the DIF mode the MAX less the MIN is displayed AVG Average value In the AVG mode all of the readings in the current measurement session are averaged and the value is displayed HAL High Alarm setting The temperature that when exceeded causes the audible visual alarm to trip LAL Low Alarm setting T...

Page 11: ...ears on the lower LCD line 2 Press and hold the Laser Backlight button until the EMS icon begins to blink and the emissivity value is displayed as ___ 3 The IR temperature will be displayed on the middle line of the LCD and the Type K temperature will be displayed on the lower LCD line 4 Touch the Type K sensor to the surface and at the same time take an IR reading 5 When both the IR and the Type ...

Page 12: ...nd LCD display icon Follow the steps below 1 Press the MODE button until the HAL High Alarm parameter is displayed Use the UP and DOWN arrow keys to set the desired High Alarm setting 2 Press the MODE button until the LAL Low Alarm parameter is displayed Use the UP and DOWN arrow keys to set the desired Low Alarm setting 3 When an alarm limit is reached the audible alarm will sound and the display...

Page 13: ...easuring Allow time for the paint or tape to adjust to the temperature of the surface it is covering 4 Measurements through transparent surfaces such as glass may not be accurate 5 Steam dust smoke etc can obscure measurements 6 The meter automatically compensates for deviations in ambient temperature However it can take up to 30 minutes for the meter to adjust to extremely wide changes 7 To find ...

Page 14: ...es are shown in the field of view diagram Measurements should normally be made as close as possible to the device under test The meter can measure from moderate distances but the measurement may be affected by external sources of light In addition the spot size may be so large that it encompasses surface areas not intended to be measured 2 3 4 13 26 39 Distance to Object Diameter of Spot 1 52 ...

Page 15: ... flat black finish For the Model 81998 the emissivity is adjustable from 0 1 to 1 00 Most organic materials and painted or oxidized surfaces have an emissivity factor of 0 95 When in doubt set the emissivity to 0 95 Emissivity Factors for Common Materials Material Emissivity Material Emissivity Asphalt 0 90 to 0 98 Cloth black 0 98 Concrete 0 94 Skin human 0 98 Cement 0 96 Leather 0 75 to 0 80 San...

Page 16: ...ls cleaning solvents or detergents 5 USE ONLY FRESH BATTERIES OF THE RECOMMENDED SIZE AND TYPE Remove old or weak batteries so they do not leak and damage the unit 6 IF THE METER IS TO BE STORED FOR A LONG PERIOD OF TIME the batteries should be removed to prevent damage to the unit BATTERY REPLACEMENT When the low battery symbol appears on the display replace the meter s battery 9V The battery com...

Page 17: ...Not Operate 1 Always read all the instructions in this manual before use 2 Check to be sure the battery is properly installed 3 Check to be sure the battery is good If You Do Not Understand How the Meter Works Call our Customer Service Line 1 888 326 1006 SERVICE AND PARTS For replacement parts shipped directly to your home Call 9 am 5 pm Eastern Time M F 1 888 326 1006 ...

Reviews: