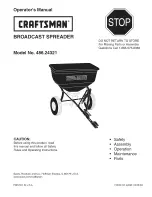
Craftsman 486.24321, Operator'S Manual
The Craftsman 486.24321 Operator's Manual is an essential resource for those looking to maximize the efficiency and ease of use of their Craftsman product. Download this comprehensive manual for free from manualshive.com to ensure you have detailed instructions and guidance at your fingertips every step of the way.
Share
Download


Reviews:
No comments
Related manuals for 486.24321
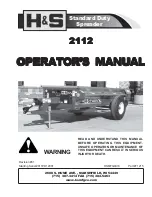
2112
Brand: H&S Pages: 30
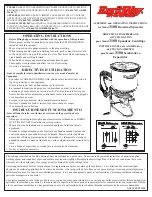
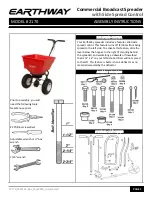
3100
Brand: EarthWay Pages: 2
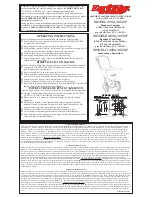
2050
Brand: EarthWay Pages: 2
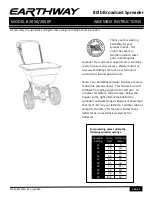
2050
Brand: EarthWay Pages: 3
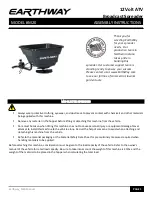
M20
Brand: EarthWay Pages: 6
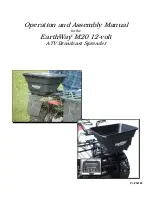
M20
Brand: EarthWay Pages: 6
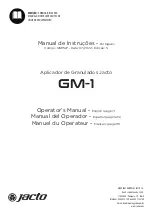
GM-1
Brand: Jacto Pages: 25
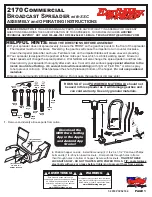
2170
Brand: EarthWay Pages: 8
2170
Brand: EarthWay Pages: 12

3243
Brand: H&S Pages: 36

2170
Brand: EarthWay Pages: 6
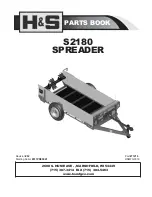
S2180
Brand: H&S Pages: 38
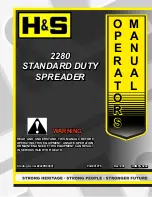
2280
Brand: H&S Pages: 34

425
Brand: Gardena Pages: 4

M30
Brand: EarthWay Pages: 6
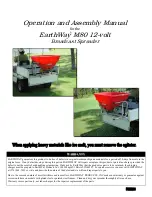
M80
Brand: EarthWay Pages: 6
2750
Brand: EarthWay Pages: 2
2050TP
Brand: EarthWay Pages: 6


