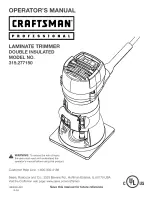
Craftsman 315.277150, Operator'S Manual
The Craftsman 315.277150 Operator's Manual is a crucial resource for maximizing the functionality and performance of this versatile tool. This comprehensive manual is available for free download at manualshive.com, providing users with a convenient and accessible guide to mastering their Craftsman 315.277150, helping them accomplish any project with confidence.
Share
Download


Reviews:
No comments
Related manuals for 315.277150
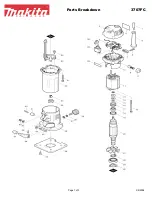
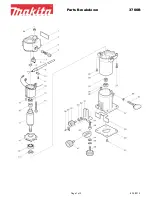
3707FC
Brand: Makita Pages: 3
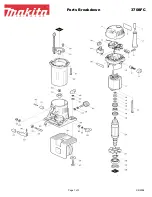
3708FC
Brand: Makita Pages: 3
3700B
Brand: Makita Pages: 2

67044
Brand: Draper Pages: 12

DW631K
Brand: DeWalt Pages: 88
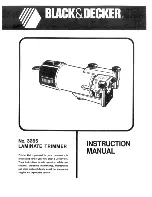
3265
Brand: Black & Decker Pages: 4

3270
Brand: Black & Decker Pages: 16

315.275121
Brand: Craftsman Pages: 16

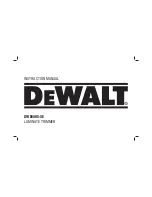
DWE6000
Brand: DeWalt Pages: 56
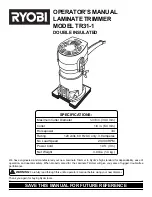
TR31-1
Brand: Ryobi Pages: 16
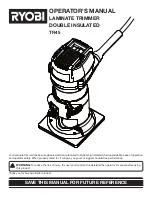
TR45
Brand: Ryobi Pages: 20
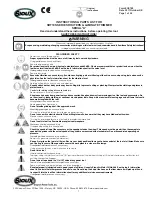
SRT10S SERIES
Brand: Sioux Tools Pages: 27

ST55
Brand: Stanley Pages: 84
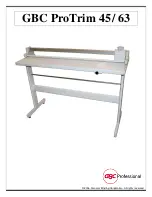
ProTrim 45
Brand: GBC Pages: 10
DWE6005-XE
Brand: DeWalt Pages: 16
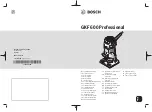
GKF 600 Professional
Brand: Bosch Pages: 199
LC 300
Brand: Wolfcraft Pages: 32
3700B
Brand: Makita Pages: 28


