Craftsman 247.77586, Owner'S Manual
Get the most out of your Craftsman 247.77586 with our comprehensive Owner's Manual – the go-to guide for tackling any outdoor task. This essential manual is available for free download at manualshive.com, ensuring you have all the information you need right at your fingertips.
Share
Download


Reviews:
No comments
Related manuals for 247.77586

5400
Brand: Harper Pages: 38
MC40
Brand: YAAHKIEH Pages: 16
Bear Cat 76824
Brand: Echo Pages: 1
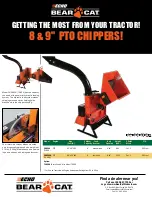
CH8540
Brand: Echo Pages: 2
A530
Brand: Jensen Pages: 72
CH 160
Brand: Farmi Forest Pages: 44
C27HS
Brand: Hansa Pages: 16
3514
Brand: Yardbeast Pages: 32
BWC Series
Brand: Tar River Pages: 68
WM-8M
Brand: WoodMaxx Pages: 58
CHIPPER 1190 TQG
Brand: Garland Pages: 148
BXT52S
Brand: Wallenstein Pages: 76
15 HP
Brand: Titan Pro Pages: 20
780 QG
Brand: Garland Pages: 136

BR-16
Brand: LEFA Pages: 19
Models with electric motor
Brand: Patriot Pages: 22
A240 ZKX
Brand: Jensen Pages: 54
BE-BX42S
Brand: AGRI EASE Pages: 46


