Sears Brands Management Corporation, Hoffman Estates, IL 60179, U.S.A.
Visit our web site: www.craftsman.com
CAUTION: Before using
this product, read this
manual and follow all
safety rules and operating
instructions.
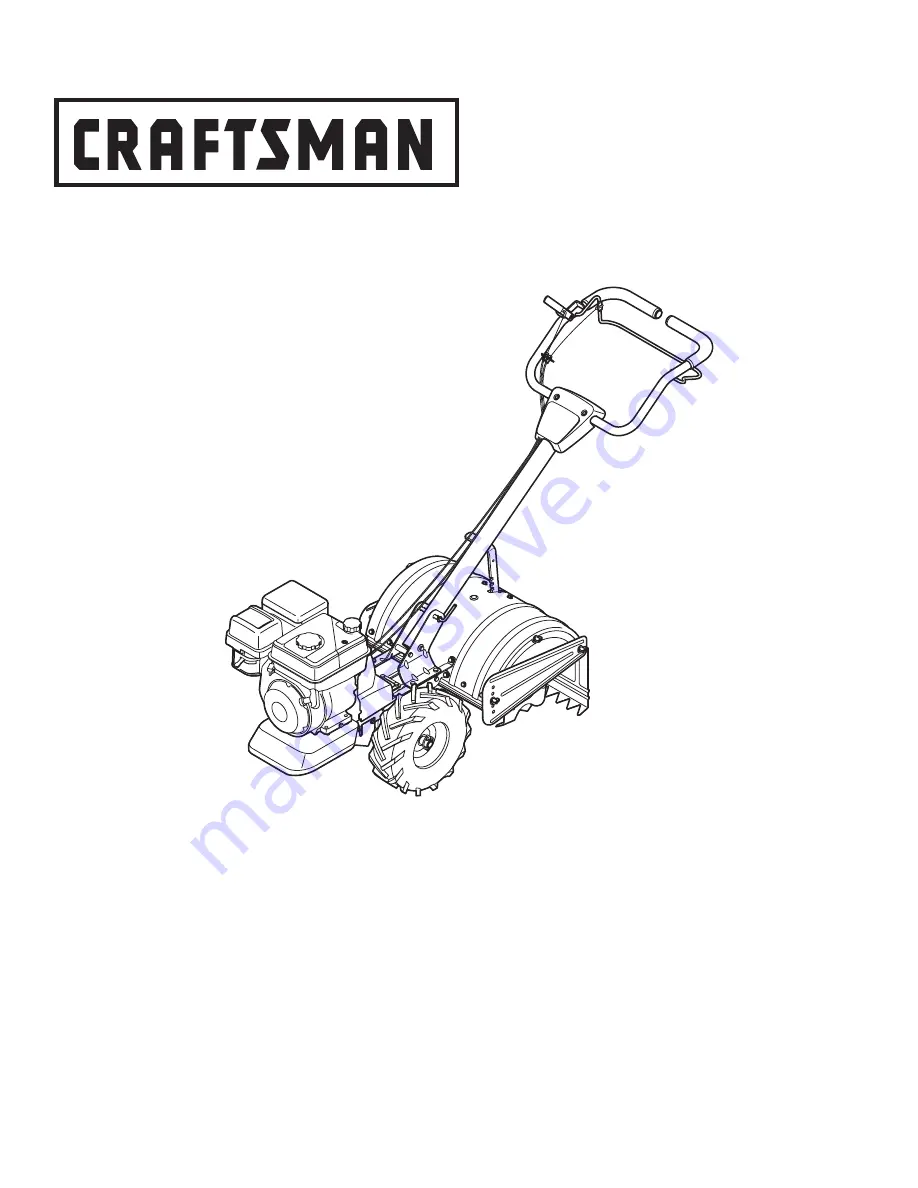
Operator’s Manual
208cc Engine
Rear Tine Tiller
Model No. 247.29930
• SAFETY
• ASSEMBLY
• OPERATION
• MAINTENANCE
• PARTS LIST
• ESPAÑOL
11/18/2009
FORM NO. 769-05423
®


