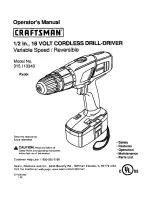
Craftsman 172.64120, Operator'S Manual
The Craftsman 172.64120 Operator's Manual is a valuable resource for owners of this product. This comprehensive manual contains vital operating instructions, maintenance guidelines, and troubleshooting tips, ensuring a seamless user experience. Download this manual for free at manualshive.com and make the most of your Craftsman 172.64120.
Share
Download


Reviews:
No comments
Related manuals for 172.64120
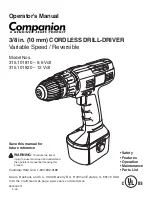
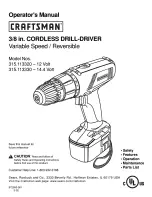
315.101810
Brand: COMPANION Pages: 18
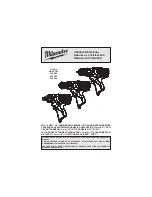
2402-20
Brand: Milwaukee Pages: 13
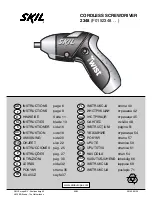
Twist 2348
Brand: Skil Pages: 11
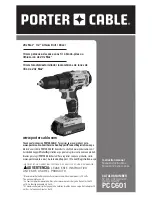
20v Max* 1/2" Lithium-IonCordless Drill/Driver
Brand: Porter-Cable Pages: 40
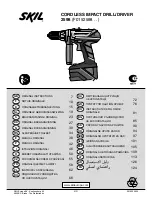
2598
Brand: Skil Pages: 10
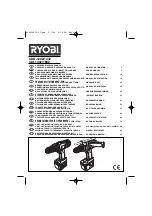
CDD-1202
Brand: Ryobi Pages: 107

CDL-5010
Brand: Ozito Pages: 64
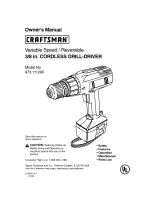
973.111290
Brand: Craftsman Pages: 16
SF180-A
Brand: Hilti Pages: 21

HP122K(D)
Brand: Black & Decker Pages: 104
HP126F2K
Brand: Black & Decker Pages: 104
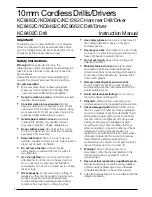
KC1282C
Brand: Black & Decker Pages: 58

315.101531
Brand: Craftsman Pages: 18

315.101540
Brand: Craftsman Pages: 18
315.113320
Brand: Craftsman Pages: 18
315.113340
Brand: Craftsman Pages: 18
315.113850
Brand: Craftsman Pages: 18
315.114050
Brand: Craftsman Pages: 18


