Cisco SPA500DS, Quick Start Manual
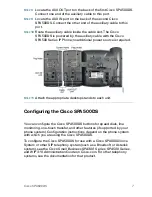
The Cisco SPA500DS Quick Start Manual is a comprehensive guide for effortlessly setting up and utilizing the Cisco SPA500DS phone expansion module. Available for free download, this essential manual provides step-by-step instructions and valuable insights to enhance your communication experience. Download it now from manualshive.com and unlock the full potential of your Cisco SPA500DS.
Share
Download


Reviews:
No comments
Related manuals for SPA500DS

DS1000
Brand: NEC Pages: 144

28310
Brand: GE Pages: 2

SL1100
Brand: NEC Pages: 5

KX-TD1232NE
Brand: Panasonic Pages: 252

KX-TD816
Brand: Panasonic Pages: 443

KX-TA308
Brand: Panasonic Pages: 268

KX-TVP50
Brand: Panasonic Pages: 16

EASA-PHONE KX-T30810
Brand: Panasonic Pages: 16

KX-TA308
Brand: Panasonic Pages: 132

Section 700
Brand: Panasonic Pages: 289

KX-NCP Series
Brand: Panasonic Pages: 40

NX-828
Brand: Samsung Pages: 15

iDCS 100
Brand: Samsung Pages: 88

SVMi-4
Brand: Samsung Pages: 215

8630
Brand: i-SERV Pages: 28

Bike
Brand: Hama Pages: 22

WTS-1000
Brand: Dakota Alert Pages: 2

DTP10-P
Brand: DAINCUBE Pages: 38


