


Americas Headquarters:
Cisco Systems, Inc., 170 West Tasman Drive, San Jose, CA 95134-1706 USA
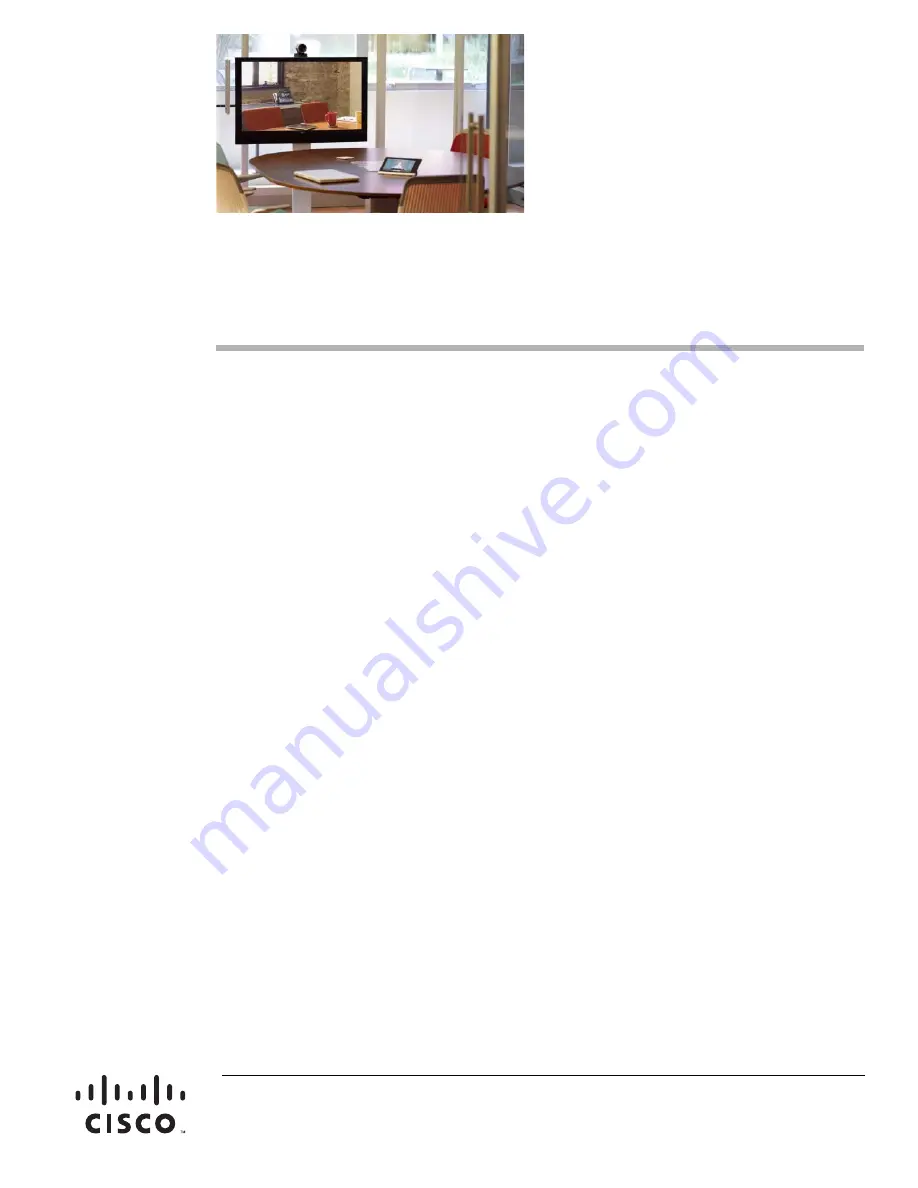
Cisco Smart+Connected 7" In-wall Display
Reference Guide
This document provides additional information about the features of the Cisco Smart+Connected 7"
In-wall Display (SCH-7IN-TS-B/W).
Refer to the following topics for more information:
•
Overview, page 2
•
Package Contents, page 3
•
Requirements, page 3
•
Back Box Options, page 4
•
Device Illustrations and Descriptions, page 6
•
Touchscreen Placement, page 7
•
LED Indicator, page 8
•
Installation, page 8
•
Power Installation, page 12
•
Configuration, page 15
•
Troubleshooting, page 16
•
Restore to Factory Default, page 16
•
Specifications, page 20
•
Regulatory/Safety Information, page 21
•
Related Documentation, page 21
•
Warranty, page 22
•
Service and Support, page 22


