


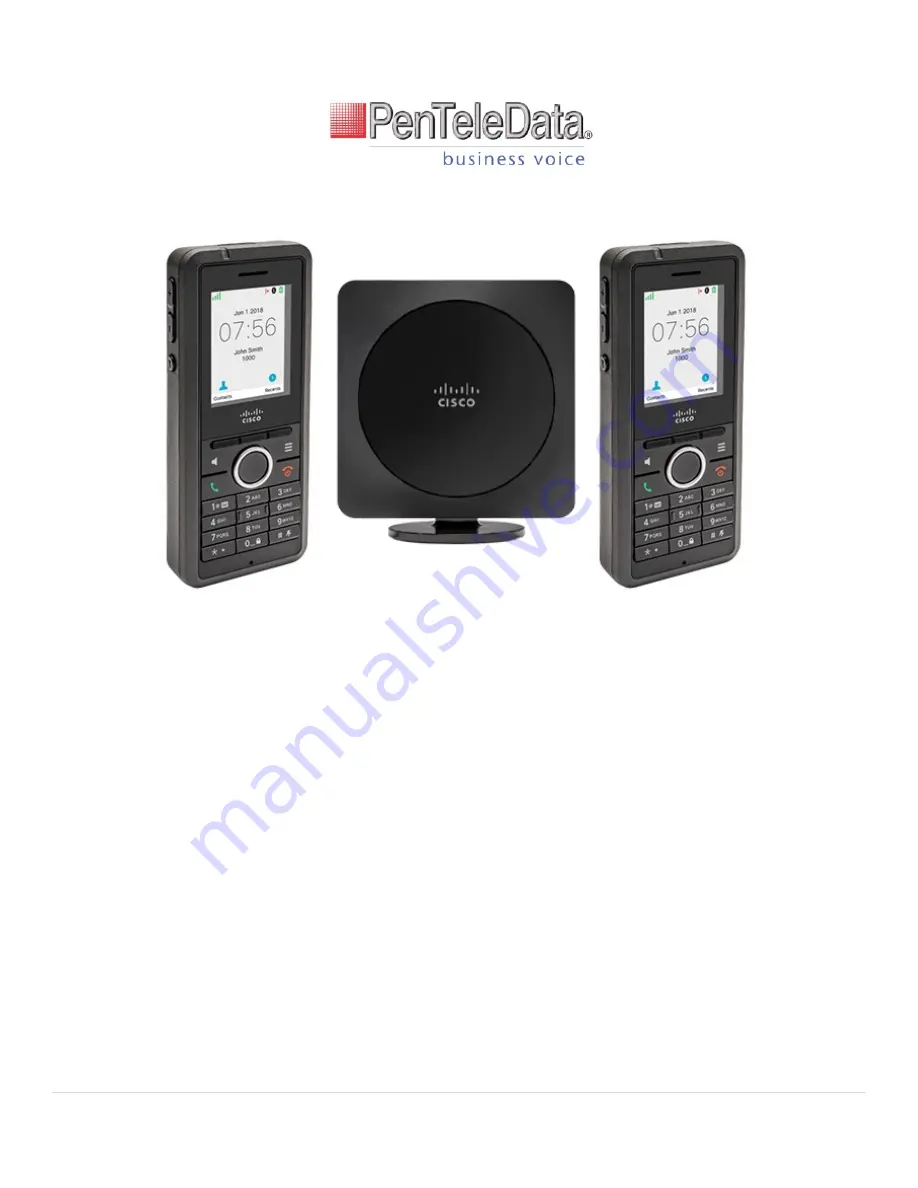
Cisco IP DECT 6825 Series User Guide
1 |
P a g e
Cisco IP DECT 6825 Series User Guide
Chapter 1 – Your Handset
Page 2
Chapter 2 – Handset Setup
Page 10
Chapter 3 – Calls
Page 13
Chapter 4 – Contacts
Page 24
Chapter 5 – Recent Calls
Page 26
Chapter 6 – Voicemail
Page 28
Chapter 7 – Settings
Page 30
540 Delaware Ave., PO Box 197, Palmerton, PA 18017
1.800.281.3564 | www.penteledata.net | www.ptd.net


