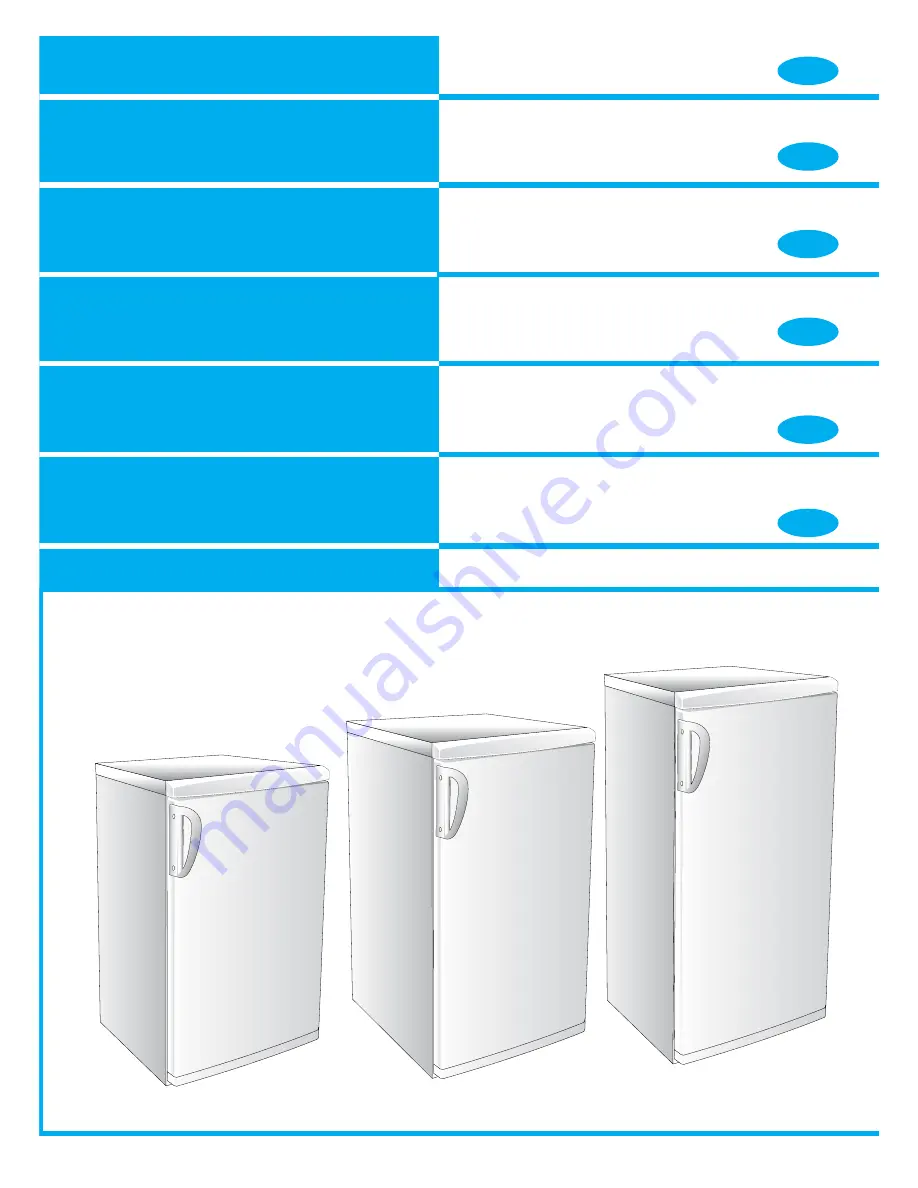
background image

IT

GB

DE

FR

ES

PT

FRIGORIFERO

Istruzioni per l’installazione, l’uso, la manutenzione

REFRIGERATOR

Instructions for installation, use, maintenance

KÜHLSCHRANK

Hinweise für Installation, Gebrauch, Wartung

RÉFRIGÉRATEUR

Instructions pour l’installation, l’utilisation, l’entretien

FRIGORÍFICO

Instrucciones para la instalación, el uso y el mantenimiento

FRIGORÍFICO

Instruções para a instalação, o uso, a manutenção

Summary of Contents for 0

Page 1: ...ructions for installation use maintenance KÜHLSCHRANK Hinweise für Installation Gebrauch Wartung RÉFRIGÉRATEUR Instructions pour l installation l utilisation l entretien FRIGORÍFICO Instrucciones para la instalación el uso y el mantenimiento FRIGORÍFICO Instruções para a instalação o uso a manutenção ...

Page 2: ...e l apparecchio con mani o piedi bagnati o umidi non tirare il cavo di alimentazione per staccare la spina dalla presa non lasciare esposto l apparecchio agli agenti atmosferici non permettere che l apparecchio sia usato dai bambini senza sorveglianza non staccare o inserire la spina nella presa con le mani bagnate prima di effettuare qualsiasi operazione di pulizia o di manutenzione disinserire l...

Page 3: ...verlangen Sie bitte eine sorgfältige Kontrolle der Anlage durch einen Fachmann Gesetz Nr 46 90 Bei der Benutzung dieses Geräts müssen genau wie bei allen anderen elektrischen Apparaten einige wichtige Regeln beachtet werden den Apparat nie mit nassen oder feuchten Händen oder Füßen berühren beim Ausziehen des Steckers aus der Steckdose nie am Kabel reißen den Apparat nie Witterungseinflüssen ausse...

Page 4: ...UTTA E VERDURA NOTE GENERALI ALLA CONSEGNA BALCONClNO PORTASCATOLE BALCONClNO PORTABOTTlGLlE LUCE INTERNA 1 2 3 4 5 6 GENERAL NOTES ON DELIVERY 1 2 3 4 5 6 Thank you for choosing this appliance Please carefully read these short notes so that you can use all the available functions to a maximum The quality of the refrigerator is guaranteed since our product is 100 tested at the end of production wi...

Page 5: ...us procurera THERMOSTAT GRILLES REGULABLES TIROIR FRUITS ET LEGUMES PORTE BOITES PORTE BOUTEILLES ECLAIRAGE INTERIEUR 4 ALLGEMEINE BEMERKUNGEN ZUR LIEFERUNG DOSENABLAGE FLASCHENABTEIL LAMPE Wir gratulieren Ihnen zu Ihrer Wahl Bitte lesen Sie diese Anleitungen die wir für Sie geschrieben haben aufmerksam durch damit Sie alle Möglichkeiten dieses Geräts voll ausschöpfen können Für die Qualität diese...

Page 6: ...NSTRUCTIONS FOR USE CHARACTERISTICS The main characteristic of the refrigerator is Automatic defrosting The defrosted water flows into a tray situated above the com pressor where it evaporates from the heat generated during the process of refrigeration INSTALLATION Level the appliance by turning the adjustable feet fig 2 Check that the appliance is not damaged Transport damage must be reported to ...

Page 7: ...on el calor generado con el proceso de refrigeración INSTALACIÓN Nivelar el frigorífico ajustando las patas regulables Fig 2 Controlar que el aparato esté intacto y sin danos Los danos de transporte habrán de ser comunicados a su vendedor en un plazo máximo de 24 horas a partir de la recepción Durante la instalación del aparato hay que observar los siguientes puntos A No instalarlo cerca de fuente...

Page 8: ...e e importante far incastrare il foglio di laminato nell asola ap posita della griglia di areazione HOW TO MOUNT THE VERTICAL HANDLE FIG 4 If your appliance is provided with vertical handles that are not installed proceed as follow 1 Take the provided handles and screws 2 Position the handle in line with the holes and fasten in position using the screws provided ASSEMBLY OF THE VENTILATION GRID FI...

Page 9: ...ille en laminé s encastre ben dans la fente de la grille d aération MONTAJE DE LA MANIJA VERTICAL FIG 4 Si vuestro aparato está dotado de la manija vertical es posible que la misma no esté montada Para el montaje proceder como sigue 1 Tomar la manija y los 2 tornillos provistos 2 Colocar el perno en correspondencia de los agujeros y fijarlo con los tornillos que vienen en dotación MONTAJE DE LA RE...

Page 10: ... il perno superiore C e rimontarlo sul lato opposto quindi rinfilare la porta nella parte superiore E Dopo aver opportunamente sistemato la porta nel proprio alloggio rimontare il perno A MODEL A A Remove the hinge 2 and the door 3 B Remove the two screws which fasten the centre hinge 4 and remove the door 5 C Unscrew the pin 6 and mount it on the left hinge D From both doors remove the bushings a...

Page 11: ...c l appareil sur le côté opposé D Dévisser l axe supérieur C et remonter ce dernier sur le côté opposé puis enfiler à nouveau la porte dans la partie supérieure E Après avoir effectué opportunément la mise en place de la porte dans son logement remonter l axe A MODELO A A Desmontar la bisagra 2 para dejar libre la puerta 3 B Quitar los dos tornillos que sujetan la bisagra intermedia 4 y dejar libr...

Page 12: ...ters as they could cause heating and burning WARNING THIS APPLIANCE MUST BE EARTHED If this appliance is fitted with a non rewirable plug for which your socket is unsuitable the plug should be cut off and an appropriate plug fitted The removed plug must be disposed of Insertion of the plug into a 13 Amp socket is likely to cause an electrical hazard When a nonrewirable plug ora rewirable 13 Amp BS...

Page 13: ...t d alimentation et avec une ouverture des contacts d au moins 3 mm Controlar que la tensión de la instalación eléctrica concuerde con la tensión indicada en la placa de características situada en el lado izquierdo inferior del interior del compartimiento congelador Si la toma de pared no tuviera contacto de tierra o si el enchufe no fuera adecuado a su instalación les aconsejamos se dirijan a un ...

Page 14: ...the internal temperature Turning the knob from the position 1 to the position 5 colder temperatures are obtained To obtain the optimal temperature in the refrigerator adjust the knob of the thermostat to a position between 3 4 The temperature should however be regulated bearing in mind the frequency of door opening the quantity of food on the grilles and the ambient temperature STARTING THE APPLIA...

Page 15: ...ectar el enchufe a una toma de corriente El frigorífico se pone automáticamente en funcionamiento Dejarlo funcionar en vacío durante 30 minutos aproximadamente y luego disponer las bebidas de manera tal que se asegure una buena circulación de aire dentro del frigorífico finalmente cerrar la puerta Se aconseja en caso de ausencias prolongadas detener el funcionamiento del frigorífico y mantener abi...

Page 16: ...erra non sia realizzato secondo le vigenti norme nazionali Do not put hot food into the refrigerator but wait for them to cool down at room tempera ture all food must be arranged inside in order to allow sufficient circulation of air For this reason never place paper or plastic sheets on the racks When placing food inside the refrigerator compartment take care that nothing touches the back panel A...

Page 17: ...er los productos en el interior del compartimiento frigorífico tener cuidado de que no toquen la pared posterior Evitar abrir la puerta del frigorífico innecesariamente Cubrir los líquidos antes de introducirlos en la cámara frigorífica para evitar el aumento de la humedad y el consiguiente aumento de la escarcha La escarcha tiende a concen trarse en los puntos más fríos del evaporador con un cons...

Page 18: ...e thermostat box 1 3 2 4 staccare la spina dalla rete togliere il coperchio lampada Sostituire la lampada con il tipo indicata nella figura rimontare il coperchio lampada e reinserire la spina 1 3 2 4 Disconnect the plug from the mains Remove the bulb cover Replace the lamp with the type indicated in the figure Remount the bulb cover and reinsert the plug Nel caso si debba sostituire la lampada ne...

Page 19: ... ficha da rede extraia a tampa da lâmpada substitua a lâmpada por uma nova do tipo indicado na figura torne a montar tampa da lâmpada e ligue novamente a ficha 1 3 2 4 Desconectar el enchufe de la toma de corriente Quitar la tapa de la lámpara Sustituir la lámpara con el tipo indicado en la figura Montar nuevamente la tapa de la lámpara y volver a conectar el enchufe a la toma de corriente 1 3 2 4...

Page 20: ...Stampa Tipolitografia Fabrianese 18 01 28 11 2002 461025000 ...

Reviews: