Bosch 3 842 998 067, Assembly Instructions Manual
The Bosch 3 842 998 067 is a versatile product that guarantees seamless assembly. Enhance your efficiency with the help of our precise Assembly Instructions Manual. Download the comprehensive manual for this product absolutely free from manualshive.com and unlock a world of hassle-free assembly.
Share
Download


Reviews:
No comments
Related manuals for 3 842 998 067
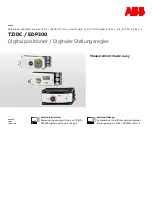
TZIDC
Brand: ABB Pages: 4
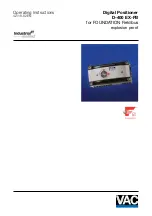
TZIDC
Brand: VAC Pages: 40

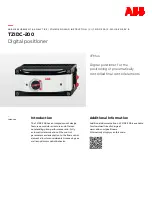
TZIDC
Brand: ABB Pages: 48

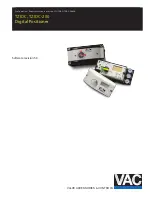
TZIDC-200
Brand: ABB Pages: 34
TZIDC-200
Brand: ABB Pages: 40

TZIDC-200
Brand: ABB Pages: 68
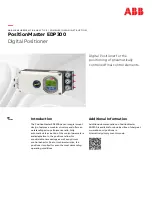
PositionMaster EDP300
Brand: ABB Pages: 52
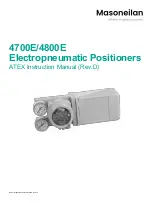
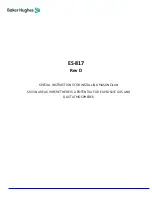
Masoneilan 4700E
Brand: Baker Hughes Pages: 12

Masoneilan SVi 1000
Brand: Baker Hughes Pages: 68
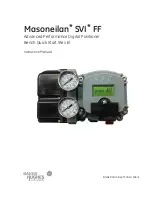
Masoneilan SVI FF
Brand: Baker Hughes Pages: 22
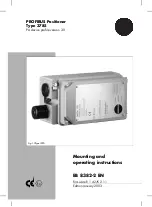
4785
Brand: Samson Pages: 78
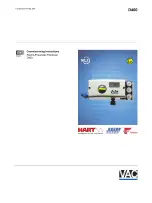
D400
Brand: VAC Pages: 48
D400
Brand: VAC Pages: 71
Masoneilan SVI3
Brand: Baker Hughes Pages: 14
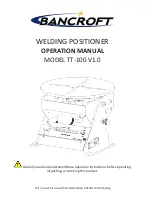
TT-100
Brand: Bancroft Pages: 12

EP100
Brand: EBRO ARMATUREN Pages: 23

PSD4 Series
Brand: halstrup-walcher Pages: 5
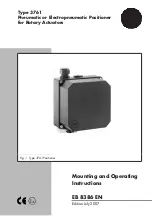
3761
Brand: Samson Pages: 28


