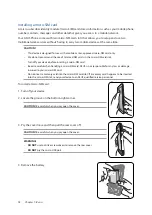
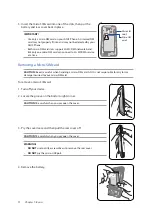
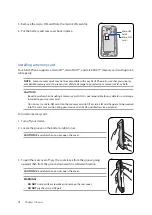
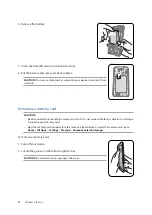
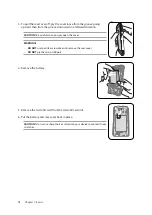
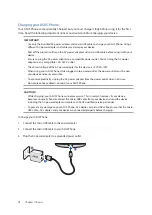
Asus ZenFone Selfie ZD551KL, User Manual
The Asus ZenFone Selfie ZD551KL is a remarkable smartphone that boasts an excellent front and rear camera for capturing stunning selfies. To make the most of its features, make sure to have the User Manual at hand. You can conveniently download the free manual from our website, manualshive.com, to unlock the full potential of this incredible device.
Share
Download


Reviews:
No comments
Related manuals for ZenFone Selfie ZD551KL

Galaxy Core Prime
Brand: Samsung Pages: 60

galaxy note 5
Brand: Samsung Pages: 60
Galaxy Note 3
Brand: Samsung Pages: 92

Galaxy Note Edge
Brand: Samsung Pages: 62

GT-I9506
Brand: Samsung Pages: 38
POP 2 7043K
Brand: Alcatel Pages: 21
KM0410 LIVE2
Brand: Kruger&Matz Pages: 228

GRACE X5
Brand: Prestigio Pages: 39
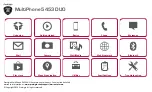
MultiPhone 5453 DUO
Brand: Prestigio Pages: 39
45 Helium
Brand: Archos Pages: 147

Maxim PRO
Brand: XOX Pages: 24
S47QHD
Brand: Billow Pages: 123
W716
Brand: Haier Pages: 52
b1-770
Brand: Acer Pages: 17
ICONIA
Brand: Acer Pages: 110

ZenFone E9154
Brand: Asus Pages: 164
Zenfone Max ZC550KL
Brand: Asus Pages: 154
ZS550KL
Brand: Asus Pages: 113


