background image

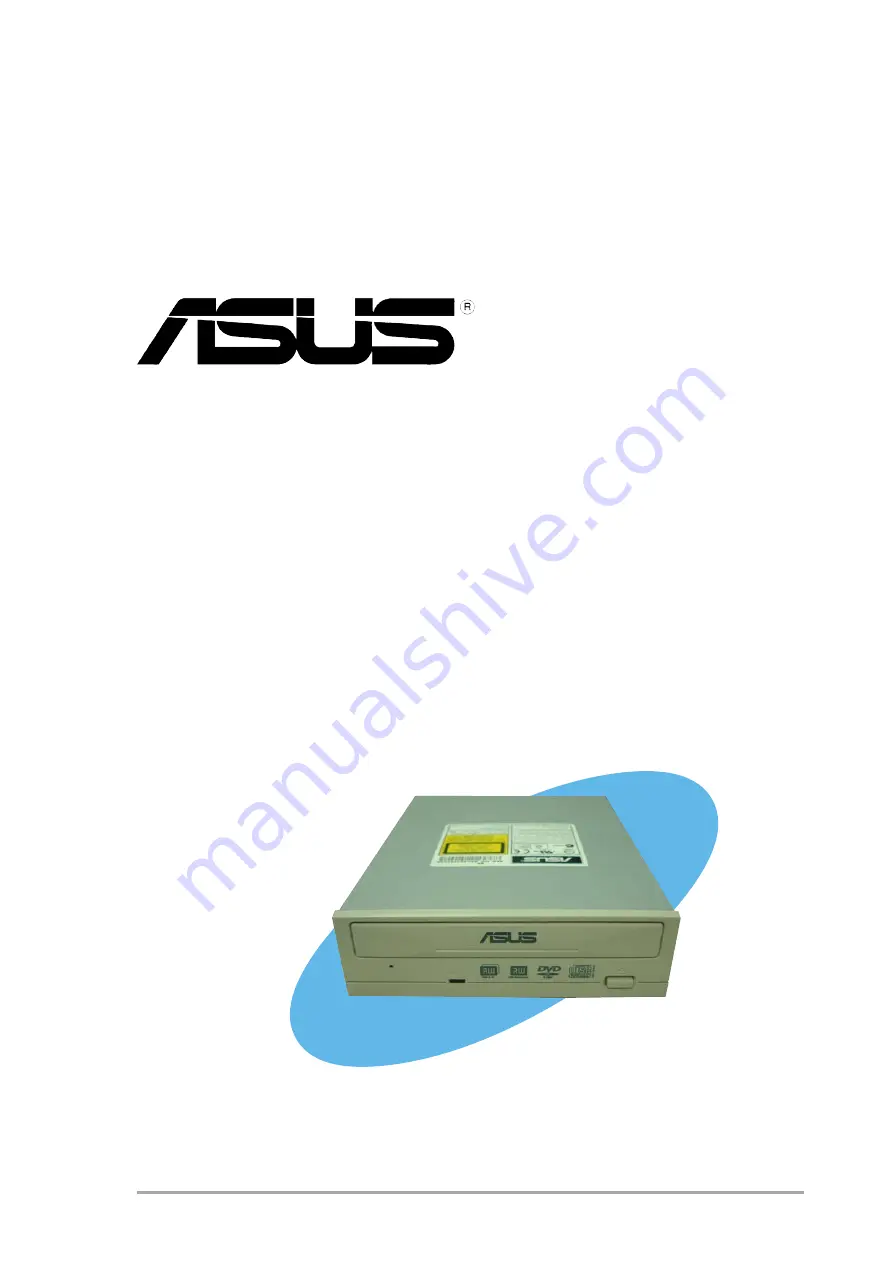
A S U S   D R W - 1 6 0 4 P   D V D ± R / R W   d r i v e

A S U S   D R W - 1 6 0 4 P   D V D ± R / R W   d r i v e

A S U S   D R W - 1 6 0 4 P   D V D ± R / R W   d r i v e

A S U S   D R W - 1 6 0 4 P   D V D ± R / R W   d r i v e

A S U S   D R W - 1 6 0 4 P   D V D ± R / R W   d r i v e

1

1

1

1

1

User Guide

DRW-1604P

DVD±R/RW Drive

DVD±R/RW Drive

DVD±R/RW Drive

DVD±R/RW Drive

DVD±R/RW Drive

Supports Dual Format
and Double Layer

Summary of Contents for DRW-1604P

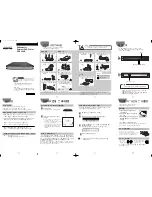
Page 1: ...VD R RW drive ASUS DRW 1604P DVD R RW drive ASUS DRW 1604P DVD R RW drive ASUS DRW 1604P DVD R RW drive 1 1 1 1 1 User Guide DRW 1604P DVD R RW Drive DVD R RW Drive DVD R RW Drive DVD R RW Drive DVD R RW Drive Supports Dual Format and Double Layer ...

Page 2: ...ESS OR IMPLIED INCLUDING BUT NOT LIMITED TO THE IMPLIED WARRANTIES OR CONDITIONS OF MERCHANTABILITY OR FITNESS FOR A PARTICULAR PURPOSE IN NO EVENT SHALL ASUS ITS DIRECTORS OFFICERS EMPLOYEES OR AGENTS BE LIABLE FOR ANY INDIRECT SPECIAL INCIDENTAL OR CONSEQUENTIAL DAMAGES INCLUDING DAMAGES FOR LOSS OF PROFITS LOSS OF BUSINESS LOSS OF USE OR DATA INTERRUPTION OF BUSINESS AND THE LIKE EVEN IF ASUS H...

Page 3: ...s 8 Welcome 9 Product introduction 9 Specifications 9 Features 10 Front panel 11 Rear panel 12 Installation 13 System requirements 13 Setting the jumper terminals 14 Installing the device 15 Connecting the drive cables 17 Drive basics 18 Placing a disc into the drive 18 Ejecting a disc from the drive 19 Using the emergency eject pinhole 20 Using compact discs 21 Cleaning a disc 21 Handling a disc ...

Page 4: ... harmful interference to radio communications However there is no guarantee that interference will not occur in a particular installation If this equipment does cause harmful interference to radio or television reception which can be determined by turning the equipment off and on the user is encouraged to try to correct the interference by one or more of the following measures Reorient or relocate...

Page 5: ...NAL America Address 44370 Nobel Drive Fremont CA 94538 USA Fax 1 510 608 4555 E mail tmd1 asus com Web site usa asus com Technical Support Telephone General 1 502 995 0883 Notebook 1 510 739 3777 Support fax 1 502 933 8713 Support e mail tsd asus com ASUS COMPUTER GmbH Germany and Austria ASUS COMPUTER GmbH Germany and Austria ASUS COMPUTER GmbH Germany and Austria ASUS COMPUTER GmbH Germany and A...

Page 6: ...tallation notices Installation notices Installation notices Installation notices Do not attempt to disassemble or repair the drive Opening the drive may result to exposure to laser radiation Do not use or place this device near magnetic fields televisions or radios to avoid electronic interference that affects drive performance Do not place this device under direct sunlight or in humid or damp pla...

Page 7: ... clean the device If you accidentally sprayed any solvent on the device use a clean cloth to wipe it You may also use a neutral cleaner to dilute the solvent to easily wipe it from the device Try not to interrupt the supply of power while the device is in reading or writing mode Do not place discs into the device immediately if they came from a cold environment specially during cold seasons Wait u...

Page 8: ...P ASUS DRW 1604P ASUS DRW 1604P drive package check if all the following items are present and in good condition If any of the items is damaged or missing contact your retailer immediately ASUS DRW 1604P internal DVD R RW IDE interface IDE cable Mounting screw set Audio cable Emergency eject pin and instruction slip User guide Multi language quick installation guide Bundled software CD The above i...

Page 9: ... R DVD RW CD ROM Mode 1 CD ROM XA Mode 2 form 1 form 2 Photo CD single and multiple session CD DA CD Extra CD Text CD R CD RW DVD RAM DAO Incremental Multi Border Recording Restricted Overwriting DAO Incremental Multi Border Recording Sequential Multi Session Recording Sequential Multi Session Recording Random Recording DAO TAO SAO Packet Write Multi Session Recording Write Speeds Write Speeds Wri...

Page 10: ...drive capable of reading data from and writing data in DVD R RW or DVD R RW formats The dual compatibility feature of the drive allows you to create DVDs that can be played or read by most DVD ROM drives and DVD players This function provides you with flexibility and efficiency in terms of multimedia data storage and sharing The drive complies with the Enhanced IDE Attachment Packet Interface ATAP...

Page 11: ...Disc loading tray Disc loading tray Disc loading tray Disc loading tray Disc loading tray This tray holds the disc Open the loading tray by pressing the Eject Button Place a CD or DVD on the tray with the label side up Press the Eject Button or push the front part of the tray to load the disc 3 3 3 3 3 READ WRITE indicator READ WRITE indicator READ WRITE indicator READ WRITE indicator READ WRITE i...

Page 12: ...llow you to select either Master Slave or Cable Select mode for the drive Refer to page 14 for the jumper settings Pin Name Switch Status Description 1 MA ON Master mode 2 SL ON Slave mode 3 CS ON Cable select mode 4 5 Reserved 3 3 3 3 3 Air vent Air vent Air vent Air vent Air vent This air vent allows air intake to maintain ideal drive temperature Make sure the air vent is not blocked by cables o...

Page 13: ...ium III 700 MHz or Celeron 700 MHz or AMD Duron 850 MHz or higher PC Windows 98 SE Me 2000 NT XP operating system At least 64 MB RAM 128 MB recommended An empty 5 25 inch external drive bay HDD empty storage capacity of 100 MB or more Average seek time 20 ms or less Transmission rate 2 MB s or more Avoid using a hard disk that thermally calibrates during operation Do not insert damaged or warped d...

Page 14: ...lect Mode Cable Select Mode Cable Select Mode Cover the two pins labeled CS see illustration if your computer supports a Cable Select CSEL signal You need an exclusive interface cable for this mode Refer to your computer manual for details RESERVED RESERVED PIN 1 PIN 1 S S S S S L L L L L C C C C C S S S S S Jumper terminals Jumper terminals Jumper terminals Jumper terminals Jumper terminals Setti...

Page 15: ...hould align with the holes on the drive bay 1 Remove the cover of an empty 5 25 inch external drive bay Installing the device Installing the device Installing the device Installing the device Installing the device Follow these steps to install the drive into the computer chassis Refer to your computer manual for specific instructions on opening the chassis and installing drives ...

Page 16: ...me with the drive package Use two screws on each side of the drive Depending on the space on your chassis you may need to connect the drive cables before securing the drive into the chassis For cable connections proceed to the following section Connecting the Drive Cables ...

Page 17: ...udio interface cable to the 4 pin analog audio connector on the rear of the drive Connect the other end of the audio cable to the connector on the sound card or on the 4 pin CD connector on the motherboard Power cable Power cable Power cable Power cable Power cable IDE cable IDE cable IDE cable IDE cable IDE cable 4 pin Audio cable 4 pin Audio cable 4 pin Audio cable 4 pin Audio cable 4 pin Audio ...

Page 18: ... a disc into the drive Placing a disc into the drive Placing a disc into the drive Placing a disc into the drive 1 Press the eject button on the front of the drive to eject the tray 2 When the drive tray ejects out of the drive place the disc on the tray with the label printed side up ...

Page 19: ...om the drive 1 Press the eject button on the front of the drive to eject the tray 2 Carefully remove the disc from the tray 3 Press the drive eject button or lightly push the center of the drive tray to load the tray back into the drive 12 cm Disc 12 cm Disc 12 cm Disc 12 cm Disc 12 cm Disc 8 cm Disc 8 cm Disc 8 cm Disc 8 cm Disc 8 cm Disc If you are using a 12 cm disc place it on the outer circul...

Page 20: ...ctrical power outage or the drive malfunctions 2 Carefully pull the tray out and remove the disc Follow these steps to eject the drive tray using the emergency pinhole 1 Insert the Emergency Eject Pin that came with the drive package into the Emergency Eject Pinhole You may also use a paper clip or any pointed rod small enough to fit into the emergency eject pinhole Use the manual method only when...

Page 21: ...lp you avoid damaging the discs and your drive Cleaning a disc Cleaning a disc Cleaning a disc Cleaning a disc Cleaning a disc Spray the disc with compressed air for about five seconds to get rid of the dust on a disc Handling a disc Handling a disc Handling a disc Handling a disc Handling a disc Hold a disc by the edges Do not touch the disc surface ...

Page 22: ... 5 to 90 non condensing Operation 0 2G peak at 10 500 Hz Storage 1 5G peak at 10 500 Hz Non operation Less than 50 G no damage Packaged 60 cm high no damage 1 corner 3 edges 6 surfaces Sound Power Less than 52 dB A MTBF 60 000 power on hours ODC Read 20 of power on time ODC Write 2 of power on time 30 minutes Power Source Power Source Power Source Power Source Power Source IO Terminal IO Terminal ...

Page 23: ...e times This limitation makes the drive adaptable to five times This limitation makes the drive adaptable to five times This limitation makes the drive adaptable to five times This limitation makes the drive adaptable to five times This limitation makes the drive adaptable for use in many regions while maintaining compliance for use in many regions while maintaining compliance for use in many regi...

Page 24: ...24 ASUS DRW 1604P DVD R RW drive ...

Reviews: