background image

ASMB2

Server Management Board

Summary of Contents for ASMB2

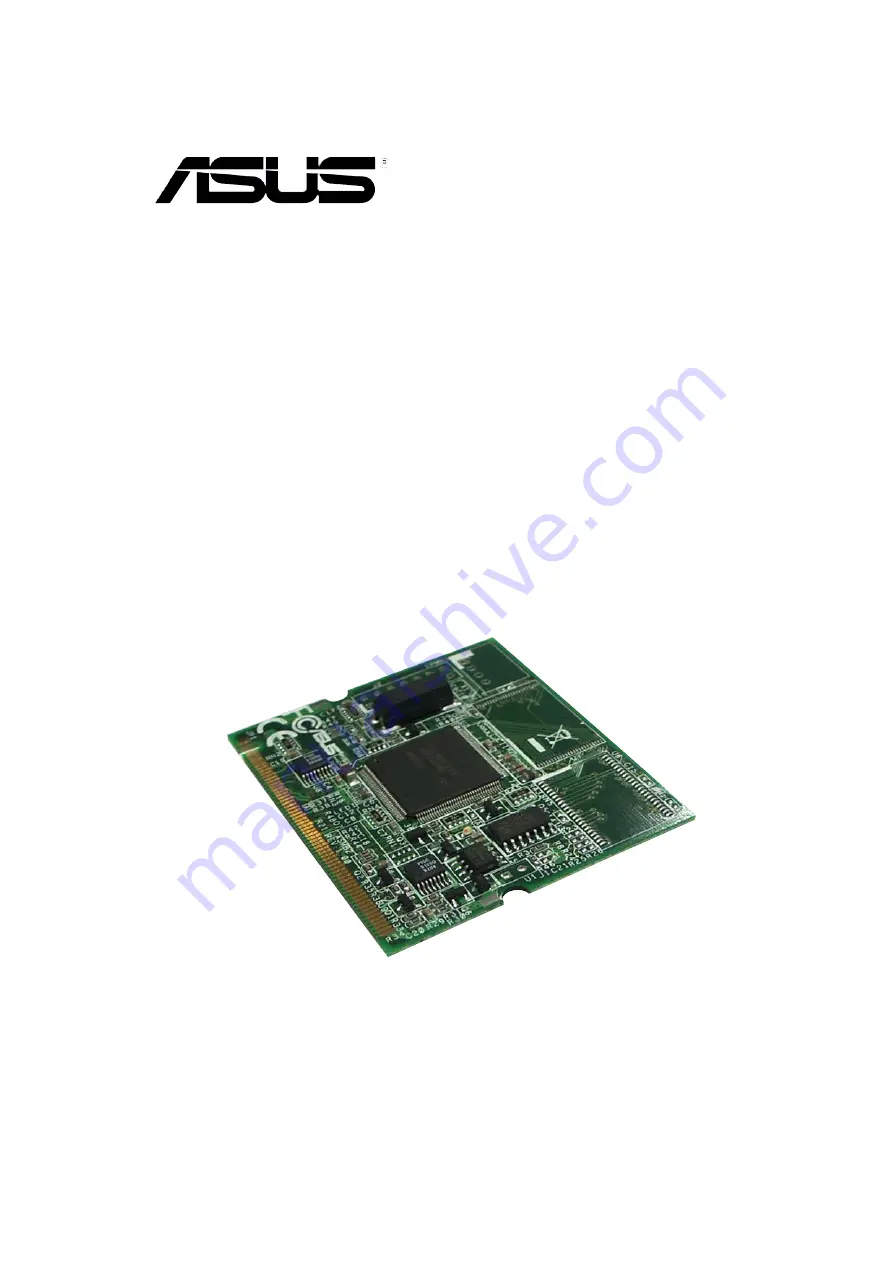
Page 1: ...ASMB2 Server Management Board ...

Page 2: ... of the product is defaced or missing ASUS PROVIDES THIS MANUAL AS IS WITHOUT WARRANTY OF ANY KIND EITHER EXPRESS OR IMPLIED INCLUDING BUT NOT LIMITED TO THE IMPLIED WARRANTIES OR CONDITIONS OF MERCHANTABILITY OR FITNESS FOR A PARTICULAR PURPOSE IN NO EVENT SHALL ASUS ITS DIRECTORS OFFICERS EMPLOYEES OR AGENTS BE LIABLE FOR ANY INDIRECT SPECIAL INCIDENTAL OR CONSEQUENTIAL DAMAGES INCLUDING DAMAGES...

Page 3: ...allation Chapter 2 Installation Chapter 2 Installation Chapter 2 Installation Chapter 2 Installation 2 1 Before you proceed 2 2 2 2 Hardware installation 2 2 2 3 Firmware update 2 5 2 3 1 For motherboards without ASF function support 2 5 2 3 2 For motherboards with ASF function support 2 5 2 4 BIOS remote console 2 6 2 5 ASMB2 configuration 2 7 2 5 1 Running the BIOS IPMI configuration 2 7 2 5 2 R...

Page 4: ...3 3 1 8 Adjusting the monitoring settings 3 14 3 1 9 Updating the remote server BIOS file 3 16 3 1 10 Controlling the remote server power 3 17 3 1 11 Viewing PET information 3 18 3 2 ASUS Host Management Controller Setup 3 21 3 2 1 Installing and launching the ASUS Host Management Controller Setup utility 3 21 3 2 2 Command fields 3 22 3 2 3 Initial 3 22 3 2 4 View 3 22 3 2 5 Set 3 25 3 2 6 Monito...

Page 5: ...encouraged to try to correct the interference by one or more of the following measures Reorient or relocate the receiving antenna Increase the separation between the equipment and receiver Connect the equipment to an outlet on a circuit different from that to which the receiver is connected Consult the dealer or an experienced radio TV technician for help Canadian Department of Communications Stat...

Page 6: ...ct voltage in your area If you are not sure about the voltage of the electrical outlet you are using contact your local power company If the power supply is broken do not try to fix it by yourself Contact a qualified service technician or your retailer Operation safety Operation safety Operation safety Operation safety Operation safety Before installing any component to the server carefully read a...

Page 7: ...lls you how to use the software applications that the server management board supports Appendix Troubleshooting Appendix Troubleshooting Appendix Troubleshooting Appendix Troubleshooting Appendix Troubleshooting The Appendix shows the location of the LAN port for server management and BMC socket on several motherboards This section also presents common problems that you may encounter when installi...

Page 8: ...or value enclosed in brackets Example At the DOS prompt type the command line format a DANGER WARNING DANGER WARNING DANGER WARNING DANGER WARNING DANGER WARNING Information to prevent injury to yourself when trying to complete a task CAUTION CAUTION CAUTION CAUTION CAUTION Information to prevent damage to the components when trying to complete a task NOTE NOTE NOTE NOTE NOTE Tips and additional i...

Page 9: ... LAN Interface LAN Interface L E D L E D L E D L E D L E D B u s B u s B u s B u s B u s Features Features Features Features Features Software Software Software Software Software support support support support support IPMI 2 0 compliant and supports Auto monitoring sensor and event logging IPMI Host I O interface Receiving and logging of event messages IPMB I2 C system interface System Watchdog T...

Page 10: ...x x x x x ...

Page 11: ...1 Product introduction This chapter describes the server management board features and the new technologies it supports ...

Page 12: ...r system event for accurate and efficient troubleshooting ARC allows you to update the remote server system BIOS file when it gets outdated or corrupted It also lets you move through the BIOS file menus using the Remote Console Redirection feature To keep you always informed of the remote server system status ARC is also capable of sending Short Message Service SMS or text message to your mobile o...

Page 13: ...US website www asus com for an updated list of server motherboards that support the ASMB2 See the Appendix for details L E D L E D L E D L E D L E D N a m e N a m e N a m e N a m e N a m e S t a t u s S t a t u s S t a t u s S t a t u s S t a t u s Description Description Description Description Description LED1 LED1 LED1 LED1 LED1 B M C B M C B M C B M C B M C Blinking ASMB2 firmware is in execut...

Page 14: ...C Controller ARC Hub or router Hub or router Hub or router Hub or router Hub or router Direct LAN connection Direct LAN connection Direct LAN connection Direct LAN connection Direct LAN connection LAN connection through a network hub LAN connection through a network hub LAN connection through a network hub LAN connection through a network hub LAN connection through a network hub Remote host Remote...

Page 15: ...ASUS ASMB2 ASUS ASMB2 ASUS ASMB2 ASUS ASMB2 2 1 2 1 2 1 2 1 2 1 2 Installation This chapter provides instructions on how to install the board to the server system and install the utilities that the board supports ...

Page 16: ...component Before you install or remove any component ensure Before you install or remove any component ensure Before you install or remove any component ensure Before you install or remove any component ensure Before you install or remove any component ensure that the power supply is switched off or the power that the power supply is switched off or the power that the power supply is switched off ...

Page 17: ...cover then connect the power plug to a grounded wall socket 6 Insert the LAN cable plug to the LAN port for server management Refer to the Appendix for the location of the LAN port for server management on various server motherboards 7 For direct LAN configuration connect the other end of the LAN cable to the local central server LAN port For connection to a network hub or router connect the other...

Page 18: ...nstallation Chapter 2 Installation Chapter 2 Installation Chapter 2 Installation To uninstall the board 1 Simultaneously push the BMC socket retaining clips outward until the board tilts up 2 Carefully pull the board out from the BMC socket then set aside ...

Page 19: ...appears Press Y to update otherwise press N 7 After the update the screen goes back to the main menu Type c c c c c 8 A screen confirming whether or not you want to update the firmware appears Press Y to update otherwise press N 9 When the update is complete turn off the system and unplug the AC power cord 2 3 2 2 3 2 2 3 2 2 3 2 2 3 2 For motherboards with ASF function support For motherboards wi...

Page 20: ...en set the following sub menu items Serial Port Number Serial Port Number Serial Port Number Serial Port Number Serial Port Number to COM2 Baudrate Baudrate Baudrate Baudrate Baudrate to 57600 Terminal Type Terminal Type Terminal Type Terminal Type Terminal Type to VT UTF8 Media Type Media Type Media Type Media Type Media Type to Serial Select Screen Select Item Change Option F1 General Help F10 S...

Page 21: ...MI Configuration IPMI Configuration IPMI Configuration IPMI Configuration sub menu Use this sub menu to configure the IPMI settings 3 When finished press F10 to save your changes and exit the BIOS setup Select Screen Select Item Change Option F1 General Help F10 Save and Exit ESC Exit v02 58 C Copyright 1985 2004 American Megatrends Inc BIOS SETUP UTILITY Server Server Features Remote Access Confi...

Page 22: ...tem boot timeout in minutes Valid input ranges from 1 to 100 minutes with 0 signifying that the boot timeout is inactive Clear System Even Log Disabled Allows you to clear the system event log Configuration options Disabled Enabled BMC Time Sync Enabled Allows you to synchronize the BIOS time with the BMC time Configuration options Disabled Enabled System Event Log Allows you to view all the event...

Page 23: ... address Local IP Address Local IP Address Local IP Address Local IP Address Local IP Address Allows you to provide information to set the BMC IP address Subnet Mask Subnet Mask Subnet Mask Subnet Mask Subnet Mask Allows you to provide information to set the BMC subnet mask We recommend that you use the same Subnet Mask you have specified on the operating system network for the used network card G...

Page 24: ... allows you to know the MAC address of the server motherboard and to set the IP address This utility is available from the support CD that came with the package To run the ASMC utility 1 Restart the remote server then place the support CD to the optical drive 2 Press a FreeDOS command prompt when the screen prompts you to select from available boot options 3 When the A prompt appears type X where ...

Page 25: ...rd init_asmb2 Initialize ASMB2 sol_baud baud rate Set the communication Baud rate e g sol_baud 57600 bmc_info Displays the BMC and PET IP and MAC addresses 2 5 3 2 5 3 2 5 3 2 5 3 2 5 3 Configuring the LAN controller Configuring the LAN controller Configuring the LAN controller Configuring the LAN controller Configuring the LAN controller Before you can establish connection to the ASMB2 board you ...

Page 26: ...resses 5 Type asmc bmc_ip xxx xxx xxx xxx asmc bmc_ip xxx xxx xxx xxx asmc bmc_ip xxx xxx xxx xxx asmc bmc_ip xxx xxx xxx xxx asmc bmc_ip xxx xxx xxx xxx then press Enter to assign any IP address to the remote server LAN port The screen displays the request and response buffer Write the remote server IP address in a piece of paper for reference 7 Restart the remote server enter the BIOS setup then...

Page 27: ...en save the firmware file 2 Launch the ASWM application If ASWM is not yet installed on your server system use the motherboard support CD to install the application 3 Click the Configuration Configuration Configuration Configuration Configuration link then select IPMI Flash IPMI Flash IPMI Flash IPMI Flash IPMI Flash from the menu 4 Click Browse Browse Browse Browse Browse to locate the latest fir...

Page 28: ...tform Event Trap PET information See page 3 18 for details For Microsoft ActiveSync Enable the SMS feature See page 3 15 for details 2 6 1 2 6 1 2 6 1 2 6 1 2 6 1 Installing the ARC Installing the ARC Installing the ARC Installing the ARC Installing the ARC To install the ARC to the local central server 1 Place the support CD to the optical drive The CD automatically displays the Drivers Drivers D...

Page 29: ...ng ARC To launch the ARC utility click Start Start Start Start Start All Programs All Programs All Programs All Programs All Programs ASUS Remote ASUS Remote ASUS Remote ASUS Remote ASUS Remote Console Console Console Console Console ASUS Remote Console ASUS Remote Console ASUS Remote Console ASUS Remote Console ASUS Remote Console from the Windows desktop O R O R O R O R O R Double click the ASUS...

Page 30: ...2 16 2 16 2 16 2 16 2 16 Chapter 2 Installation Chapter 2 Installation Chapter 2 Installation Chapter 2 Installation Chapter 2 Installation ...

Page 31: ...3 Software support This chapter tells you how to use the software applications that the server management board supports ...

Page 32: ...rotations voltages and power This application also lets you instantly power on off or reset the remote server 1 1 1 1 1 2 2 2 2 2 4 4 4 4 4 3 3 3 3 3 5 5 5 5 5 6 6 6 6 6 The ARC window is made up of six sections 1 Menu Menu Menu Menu Menu bar 2 Tool Tool Tool Tool Tool bar 3 Navigation Navigation Navigation Navigation Navigation window 4 Detail SEL Detail SEL Detail SEL Detail SEL Detail SEL windo...

Page 33: ...stem Event Log SEL PET log or Reset PET destination H e l p H e l p H e l p H e l p H e l p open Help contents or view information about the ARC application Tool bar Tool bar Tool bar Tool bar Tool bar The Tool bar buttons correspond to commonly used commands The Tool bar offers faster access and execution of these commands Roll the mouse pointer over a button to display its function Navigation wi...

Page 34: ...Click before a sensor group to display individual sensors For example clicking before the sensor group Temperature Temperature Temperature Temperature Temperature displays the CPU1 and system temperatures You can also change the server directory display by clicking the buttons on top of the window For example clicking the I P I P I P I P I P button displays the remote server IP address instead of ...

Page 35: ...alerting as well as alerts using the ASF specification Status bar Status bar Status bar Status bar Status bar The Status bar located at the bottom of the ARC window displays the connection status to the remote server connection duration IP address of the remote server and the progress of SDR SEL FRU information download Detail SEL window Detail SEL window Detail SEL window Detail SEL window Detail...

Page 36: ...server Add new server Add new server Add new server Add new server connection connection connection connection connection window appears 2 Type the remote server name and IP address on the fields Click Save Default Save Default Save Default Save Default Save Default to set the remote server connection as the default Otherwise click O K O K O K O K O K to continue or Cancel Cancel Cancel Cancel Can...

Page 37: ...server information from the Detail SEL window Click Server Server Server Server Server then select Connect Connect Connect Connect Connect 5 When prompted enter the default user name admin and password admin 6 Set the connection request level authentication and privilege then click O K O K O K O K O K The default connection request level authentication is HMAC SHA1 HMAC SHA1 HMAC SHA1 HMAC SHA1 HM...

Page 38: ...chassis intrusion etc The SDR also provides information on the sensor location e g CPU1 CPU2 FAN1 event generation and access information To retrieve a sensor information 1 From the navigation window click before the server name to display the remote server information 2 Click before the SDR SDR SDR SDR SDR to display the sensor groups e g Temperature then click before a sensor group to display th...

Page 39: ...mation Information Information tab displays basic sensor information including the sensor name current status current value and sensor type The tab also displays the sensor record ID and SDR version 4 Click the Settings Settings Settings Settings Settings tab to adjust the sensor threshold values Click on the up down arrow button after each threshold value to adjust Click O K O K O K O K O K to cl...

Page 40: ...ote server For example the FRU feature can display the remote server motherboard name model and serial number You can use this feature when retrieving information on a module or component installed on the remote server The FRU information feature allows you to obtain component or module information even when the remote server is down or off To display the FRU information 1 From the navigation wind...

Page 41: ...events for efficient remote server monitoring and troubleshooting To display the sytem events 1 From the navigation window click before the server connection then click SEL SEL SEL SEL SEL The status bar displays the progress of the SEL download When finished the Detail SEL window displays the system events in chronological order 2 Double click an event to display an Event Event Event Event Event ...

Page 42: ... BIOS file for details on remote BIOS update To display the remote server console press the Remote Console Remote Console Remote Console Remote Console Remote Console item from the navigation window The remote server screen appears in the Detail SEL window F1 F10 keyboard function keys F1 F10 keyboard function keys F1 F10 keyboard function keys F1 F10 keyboard function keys F1 F10 keyboard functio...

Page 43: ...erver sensors To display all remote server sensors in graphical format 1 From the navigation window click before the server name to open the remote server information 2 Click All Sensors value All Sensors value All Sensors value All Sensors value All Sensors value All remote server sensors are displayed on the Information window in graphical format The color bar represents the upper lower threshol...

Page 44: ...ws you to adjust the remote server monitoring settings including SEL polling SDR reading ASF and PET To adjust the monitoring settings 1 Click Server Server Server Server Server on the menu bar then select Setting Setting Setting Setting Setting from the drop down menu A Server Server Server Server Server Settings Settings Settings Settings Settings window appears 2 Click on the up down arrow butt...

Page 45: ...m Event Trap PET information on your smart phone ASUS P505 You must install Microsoft ActiveSync before you enable the SMS feature Visit www microsoft com to download Microsoft ActiveSync To enable the SMS feature 1 Check the box before the Enable Short Message Enable Short Message Enable Short Message Enable Short Message Enable Short Message Service feature Service feature Service feature Servic...

Page 46: ...rver motherboard Visit the ASUS website for the latest BIOS file To update the remote server BIOS file 1 Download and save the latest BIOS file for the remote server motherboard 2 From the navigation window click Remote Console Remote Console Remote Console Remote Console Remote Console to display the remote server screen See section 3 1 6 for details 3 Click the update BIOS icon in the toolbar 4 ...

Page 47: ...Confirm power down power down power down power down power down window appears 3 The remote server is turned off Click O K O K O K O K O K to close the window Use the same instructions as reference when powering up or resetting the remote server Before turning off or resetting the remote server make sure that it is not being used and that no application is currently running on it to avoid data loss...

Page 48: ... window notifying you of the alert and its source IP address Right click the window to close You need to install an SNMP service to the remote server to receive PET information To install an SNMP service to the remote service 1 On the Windows taskbar click Start Start Start Start Start Settings Settings Settings Settings Settings Control Panel Control Panel Control Panel Control Panel Control Pane...

Page 49: ...ment and Monitoring Tools and Monitoring Tools and Monitoring Tools and Monitoring Tools and Monitoring Tools 5 Select Simple Network Simple Network Simple Network Simple Network Simple Network Management Protocol Management Protocol Management Protocol Management Protocol Management Protocol SNMP SNMP SNMP SNMP SNMP 6 Click O K O K O K O K O K ...

Page 50: ...isplay a Service Service Service Service Service Settings Settings Settings Settings Settings window 6 Type a name on the Description of service field Description of service field Description of service field Description of service field Description of service field i e ASUS ARC 7 Type the IP address of the local central server then set the External External External External External and Internal...

Page 51: ...Host Installing and launching the ASUS Host Installing and launching the ASUS Host Installing and launching the ASUS Host Installing and launching the ASUS Host Management Controller Setup utility Management Controller Setup utility Management Controller Setup utility Management Controller Setup utility Management Controller Setup utility To install the ASUS Host Management Controller Setup utilit...

Page 52: ...he System Event Log System Event Log System Event Log System Event Log System Event Log SEL the System Data System Data System Data System Data System Data Record Record Record Record Record SDR and general BMC information 3 2 3 3 2 3 3 2 3 3 2 3 3 2 3 Initial Initial Initial Initial Initial The Initial command allows you to clear the SEL information or exit the utility Go to Initial Initial Initi...

Page 53: ...number of sensor data records in the remote host 2 Use the down arrow key to display the next sensor data record 3 Press Esc to return to the main screen To view the System Event Log SEL To view the System Event Log SEL To view the System Event Log SEL To view the System Event Log SEL To view the System Event Log SEL 1 Select BMC SDR BMC SDR BMC SDR BMC SDR BMC SDR from the View View View View Vie...

Page 54: ...rmation To view the BMC information To view the BMC information To view the BMC information 1 Select BMC Info BMC Info BMC Info BMC Info BMC Info from the View View View View View command option then press Enter A list of BMC information appears on the left pane 2 Use the down arrow button to select a BMC information The BMC information is displayed in the right pane 3 Press Esc to return to the m...

Page 55: ...Interconnect 3 When finished press Esc to return to the main screen To set the BMC Timer To set the BMC Timer To set the BMC Timer To set the BMC Timer To set the BMC Timer 1 Select BMC Timer BMC Timer BMC Timer BMC Timer BMC Timer from the Set Set Set Set Set command option then press Enter 2 Set the BMC IPMI timer to the current system time 3 When finished press Esc to return to the main screen ...

Page 56: ...or Monitor command displays real time data on the remote server system and CPU temperatures voltages and fan speeds To display a remote server information To display a remote server information To display a remote server information To display a remote server information To display a remote server information 1 Select a sensor from the Monitor Monitor Monitor Monitor Monitor command options then p...

Page 57: ...he Appendix shows the location of the LAN port for server management and BMC socket on several motherboards This section also presents common problems that you may encounter when installing or using the server management board ...

Page 58: ...er management is the LAN port near the VGA port You must use the LAN port for server management to connect the remote server to the local central host direct LAN connection or to the network hub or router Refer to the illustrations below to identify the LAN port for server management on some server motherboards NCL DE 1U and NCL DE SCSI motherboard NCL DE 1U and NCL DE SCSI motherboard NCL DE 1U a...

Page 59: ..._A4 64 72 bit 240 pin module DDR DIMM_B4 64 72 bit 240 pin module mPGA 604 33cm 13in 30 5cm 12in PRI_IDE FRNT_FAN2 SATA2 ATX12V1 CPU_FAN1 FM_CPU1 Intel ICH5R Intel E7520 MCH BMCCONN1 PSUSMB1 BPSMB1 AUX_PANEL1 HDLED1 USB34 USBPW34 CLRTC1 VGA_EN1 RECPVERY1 LAN1_EN1 LAN2_EN1 Broadcom BCM5721 Broadcom BCM5721 SB_PWR1 REAR_FAN1 REAR_FAN2 USBPW12 CPU1 CPU2 BMC_RACK1 NCL DE 1U COM1 VGA NCLV DS2 FLOPPY1 8...

Page 60: ... FPSMB PANEL1 AUX_PANEL1 LPT1 REAR_FAN1 SOCKET 940 CPU2 SOCKET 940 CPU1 35 68 34 1 DDR1 DIMM_B2 64 bit 184 pin module DDR1 DIMM_B1 64 bit 184 pin module DDR1 DIMM_D1 64 bit 184 pin module DDR1 DIMM_D2 64 bit 184 pin module DDR1 DIMM_C1 64 bit 184 pin module DDR1 DIMM_C2 64 bit 184 pin module FRNT_FAN2 FRNT_FAN1 FRNT_FAN6 FRNT_FAN5 FRNT_FAN4 FRNT_FAN3 PCI1 PCIE1 PSUSMB1 REAR_FAN2 REAR_FAN3 REAR_FAN...

Page 61: ...om the information from the remote server remote server remote server remote server remote server Short Message Service Short Message Service Short Message Service Short Message Service Short Message Service SMS SMS SMS SMS SMS Serial Over LAN SOL Serial Over LAN SOL Serial Over LAN SOL Serial Over LAN SOL Serial Over LAN SOL 1 Check if the LAN cable is connected to the LAN port for server managem...

Page 62: ...A 6 A 6 A 6 A 6 A 6 Appendix Reference information Appendix Reference information Appendix Reference information Appendix Reference information Appendix Reference information ...

Reviews: