Asus 3DexPlorer GX2, User Manual
The Asus 3DexPlorer GX2 is a cutting-edge gaming device, designed to elevate your gaming experience to new heights. With its state-of-the-art features and advanced technology, this device delivers stunning visuals and immersive gameplay. Enhance your understanding of this product with the comprehensive User Manual available for free download at manualshive.com.
Share
Download


Reviews:
No comments
Related manuals for 3DexPlorer GX2
S15
Brand: IBM Pages: 22
DT3162
Brand: Data Translation Pages: 64
T221
Brand: IBM Pages: 38
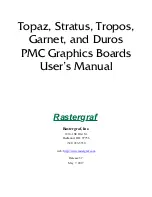
Topaz
Brand: Rastergraf Pages: 169
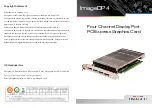
ImageDP4
Brand: Datapath Pages: 2
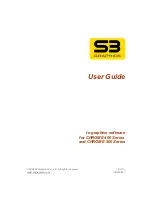
CHROME 400 Series
Brand: S3 Graphics Pages: 67
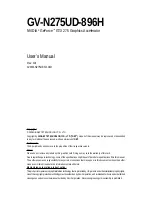
GV-N275UD-896H
Brand: Gigabyte Pages: 32

BP-VG2080RD-A2
Brand: Bitspower Pages: 5

RX2400PRO-TD256EH
Brand: MSI Pages: 2
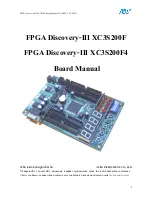
Discovery-III XC3S200F
Brand: Apex Instrument Pages: 18
Radeon X1650PRO
Brand: Diamond Multimedia Pages: 1

Millennium II
Brand: Matrox Pages: 24
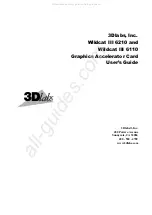
Wildcat III 6210
Brand: 3Dlabs Pages: 56
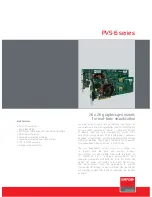
PVS-6000
Brand: Barco Pages: 2
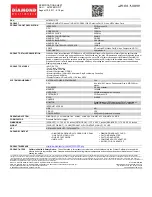
SKU 4670PE31GDT
Brand: Diamond Multimedia Pages: 1
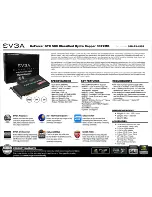
GeForce GTX 580 Classified Hydro Copper 3072MB
Brand: EVGA Pages: 1

Duros
Brand: Rastergraf Pages: 169
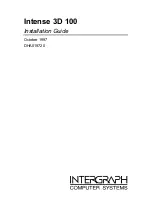
Intense 3D 100
Brand: Intergraph Pages: 26


