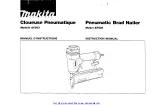
AEG CFN90, Original Instructions Manual
Get your hands on the "AEG CFN90" Original Instructions Manual today! Need a manual for your CFN90? Look no further. Download it for free from our website and effortlessly set up and operate your product. User-friendly instructions at your fingertips, only at manualshive.com.
Share
Download


Reviews:
No comments
Related manuals for CFN90
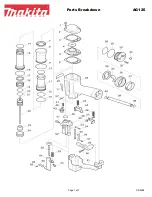
AG125
Brand: Makita Pages: 3
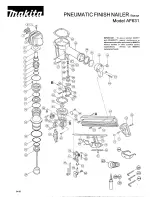
AF631
Brand: Makita Pages: 2
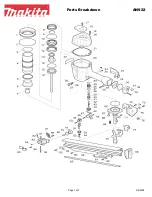
AN922
Brand: Makita Pages: 3
AF503
Brand: Makita Pages: 32
AN621
Brand: Makita Pages: 3
AN942
Brand: Makita Pages: 7
DBN500
Brand: Makita Pages: 24
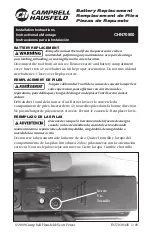
CHN71500
Brand: Campbell Hausfeld Pages: 2
CHN70600
Brand: Campbell Hausfeld Pages: 2
IronForce IFN2190
Brand: Campbell Hausfeld Pages: 12
CHN70800
Brand: Campbell Hausfeld Pages: 1

RH Series
Brand: D'Orly Pages: 11
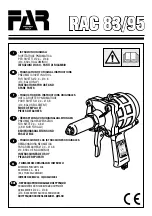
Rac 83
Brand: FAR Pages: 32
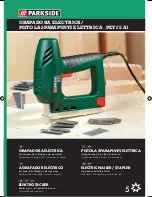
PET 25 A1
Brand: Parkside Pages: 44

PDRS 6.3 A1
Brand: Parkside Pages: 71

PAT 20-Li A1
Brand: Parkside Pages: 89
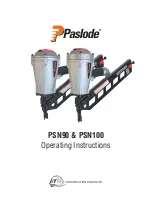
PSN90
Brand: Paslode Pages: 15
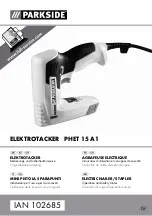
PHET 15 A1
Brand: Parkside Pages: 35


