
DRYING
COLD
40
30
60
40
30
60 E
60
40
30
MINIPROGRAMM
50
RINSE
HOLD
1200
900
700
500
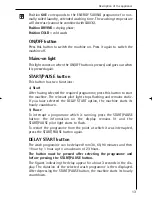
START
PAUSE
DRYING
TIME
WASH
TIME
DELAY
START
STAIN QUICK
SPIN
SPEED
PRE-
WASH
EASY
IRON
RINSE
CLEAN
FILTER
PREWASH
WASH
DRY
END
DRAIN
SPIN
COTTON
EASY-
CARE
50
DRYING
DELICATES
WOOL
RESET
SPIN
DRAIN
SOFT-
ENER
RINSES
SOAK
95
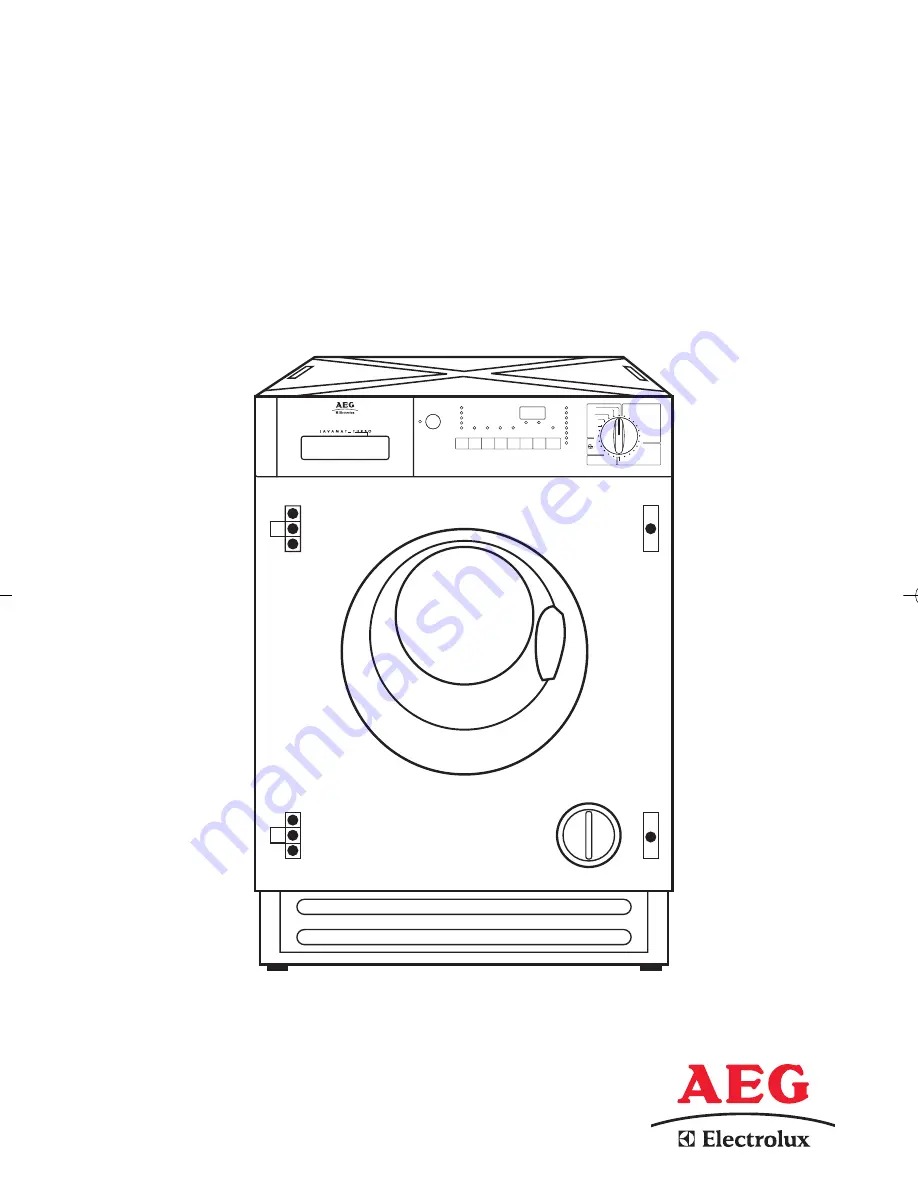
L 12710 VIT
30
40
ON/
OFF
5 mm
Washer-Dryer
Instruction Booklet
PERFEKT IN FORM UND FUNKTION
LAVAMAT TURBO 12710 VIT
LAVAMAT TURBO 14710 VIT
132984531.qxd 28/11/2005 16.32 Pagina 1


