

1
Eng
lis
h
Acer LCD Monitor Quick Start Guide (QSG)
Important safety instructions
Please read the following instructions carefully.
1
To clean the LCD monitor screen:
•
Turn off the LCD monitor and unplug the power cord.
•
Spray a non-solvent cleaning solution onto a rag and clean the screen gently.
2
Do not place the LCD monitor near a window. Exposing the monitor to rain, moisture or sunlight
can severely damage it.
3
Do not apply pressure to the LCD screen. Excessive pressure may cause permanent damage to the
display.
4
Do not remove the cover or attempt to service this unit yourself. An authorized technician should
perform servicing of any nature.
5
Store the LCD monitor in a room with a temperature of -20° to 60° C (-4° to140° F). Storing the LCD
monitor outside this range may result in permanent damage.
6
Immediately unplug your monitor and call an authorized technician if any of the following
circumstances occur:
•
Monitor-to-PC signal cable is frayed or damaged.
•
Liquid spills onto the LCD monitor or the monitor is exposed to rain.
•
The LCD monitor or case is damaged.
Package contents
Attaching the monitor to the base
1
Remove the monitor base from the packaging and place it on a stable and level workspace.
2
Remove the monitor from the packaging.
3
Align the release button at the buttom of the monitor with the corresponding slot at the bottom of
the base. A clicking sound signifies that the monitor has been securely attached to the base.
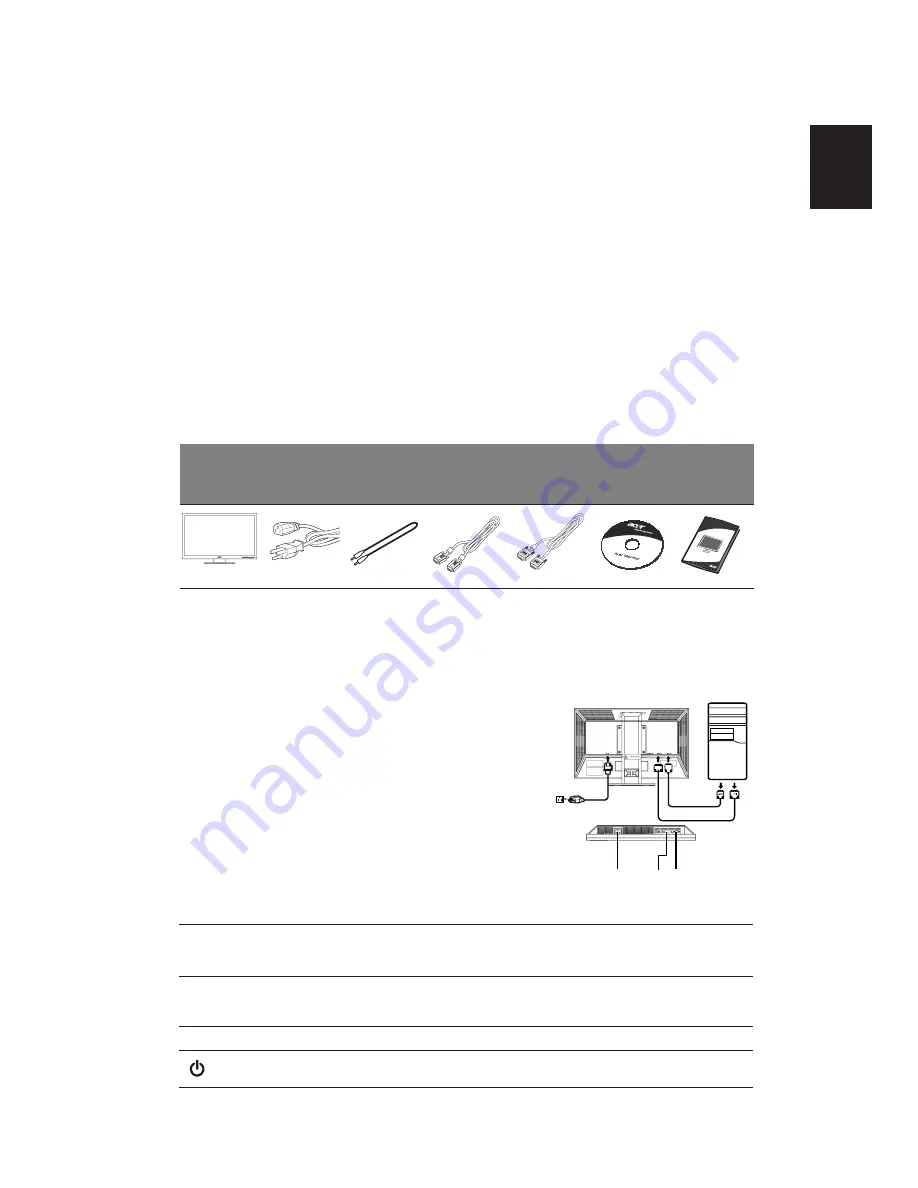
Connecting your monitor to a computer
1
Turn off your computer and unplug your computer's power
cord.
2
Connect the signal cable to the VGA and/or DVI-D (optional)
input socket of the monitor, and the VGA and/or DVI-D
(optional) output socket of the graphics card on the
computer. Then tighten the thumbscrews on the signal cable
connector.
3
Optional: Connect the audio input socket (AUDIO IN) of the
LCD monitor and the line-out port on the computer with the
audio cable.
4
Insert the monitor power cable into the power port at the
back of the monitor.
5
Plug the power cords of your computer and your monitor into
a nearby electrical outlet.
External controls
LCD monitor Power cord
Audio cable
(optional)
VGA cable
DVI cable
(only dual-
input
models)
User’s guide
Quick start
guide
Auto
Auto
If the OSD is active, press Auto
to exit the OSD. Once the OSD is inactive, press
Auto and the monitor will automatically optimize the display position, focus,
and clock of your display.
</>
Minus / Plus
If the OSD is active, press the Minus or Plus buttons to toggle between the OSD
options. If the OSD is inactive, press the Minus or Plus buttons to adjust the
volume. (Optional)
Menu
OSD functions
Press to view the OSD. Press again to enter a selection in the OSD.
Power button
Turns the monitor on/off. Blue indicates power on. Amber indicates standby/
power saving mode.
2
1-1
1-1
1-2
1-2
2
DVI D-Sub


