Acer K138STi Series, User Manual
The Acer K138STi Series, a cutting-edge projector designed for convenience and portability, comes with a handy Quick Start Manual. This comprehensive manual is a must-have for users seeking instructions on setup, operation, and troubleshooting. Download the free manual from manualshive.com, and unlock the full potential of your Acer K138STi projector effortlessly.
Share
Download


Reviews:
No comments
Related manuals for K138STi Series

6235W
Brand: Dukane Pages: 6
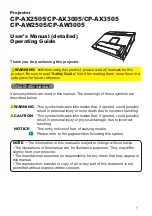
CP-AW2505
Brand: Hitachi Pages: 116
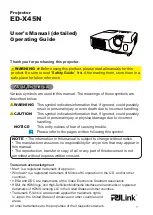
ED-X45N
Brand: Hitachi Pages: 2

ED-X45N
Brand: Hitachi Pages: 104
ED-X45N
Brand: Hitachi Pages: 260
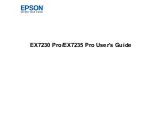
EX7230 Pro
Brand: Epson Pages: 226
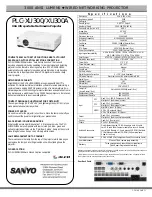
PLC-XU300A
Brand: Sanyo Pages: 1
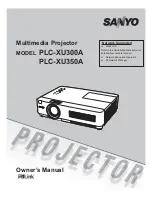
PLC-XU300A
Brand: Sanyo Pages: 168

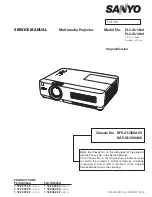
PLC-XU300A
Brand: Sanyo Pages: 2
PLC-XU300A
Brand: Sanyo Pages: 114
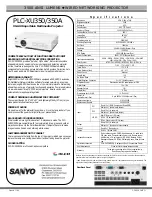
PLC-XU350A
Brand: Sanyo Pages: 1
PLC-XU350A
Brand: Sanyo Pages: 58
RETRO GRAPHICS 2100
Brand: Barco Pages: 17
MS500H
Brand: BenQ Pages: 2

MS513P
Brand: BenQ Pages: 57

MS500H
Brand: BenQ Pages: 57

HT4050
Brand: BenQ Pages: 78

HT2050
Brand: BenQ Pages: 63


