ABB AccessControl, System Manual
Get the most out of your ABB AccessControl system with our comprehensive System Manual, available for free download. Unlock the full potential of your product with detailed instructions and guidelines to efficiently manage access control. Download your manual now from our website and enhance your security protocols effortlessly.
Share
Download


Reviews:
No comments
Related manuals for AccessControl
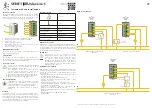
S Series
Brand: 4 BOX Pages: 2
AV-07B
Brand: BAS-IP Pages: 75
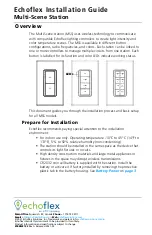
MSS
Brand: echoflex Pages: 4
KX-HNB600
Brand: Panasonic Pages: 120
EI-T5300
Brand: Samsung Pages: 2
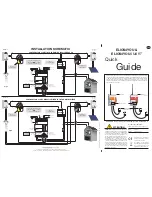
ELIOS4YOU Pro
Brand: 4-noks Pages: 2
ACTIVE
Brand: Velux Pages: 76
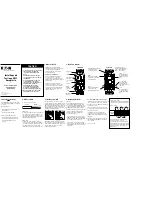
GFCI
Brand: Eaton Pages: 2
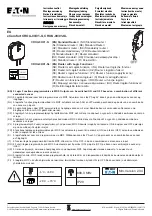
xComfort CROU-00/01-S
Brand: Eaton Pages: 4
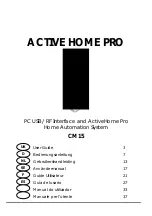
CM15
Brand: X10 Pages: 44

Invicta 3
Brand: hager Pages: 4
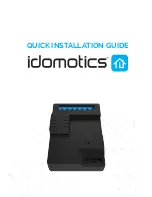
Starter Kit
Brand: iDomotics Pages: 16
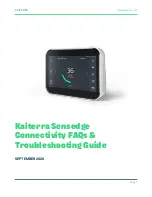
Sensedge
Brand: Kaiterra Pages: 12
ZIPABOX
Brand: Zipato Pages: 36
ECHODIA ELIOS
Brand: Électronique du Mazet Pages: 151
Elaho Preset Station
Brand: echoflex Pages: 8
JUXTA VJA7 Series
Brand: YOKOGAWA Pages: 6
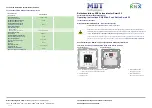
BE-JTA5504.01
Brand: MDT Technologies Pages: 2


